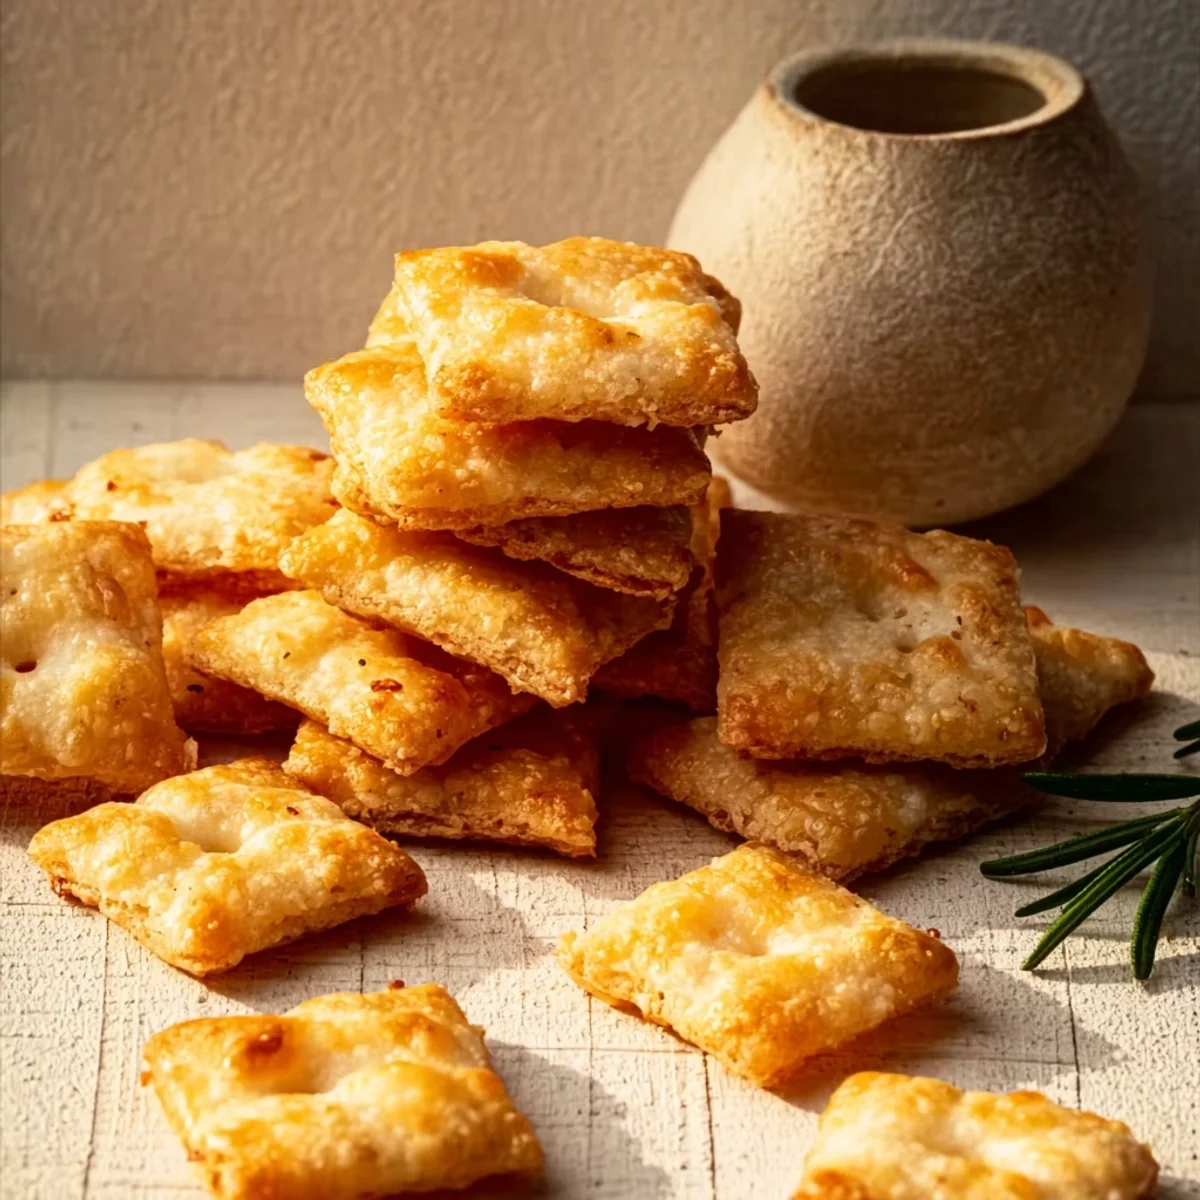


Remember those bright orange, impossibly crunchy little squares from childhood? Honestly, I was obsessed. But as I got older, I started wondering if I could capture that pure, cheesy joy in my own kitchen, you know? It started with a vague memory of a friend's mom making something similar, and then a whole lot of curious experimenting. My first few batches of these homemade cheese crackers were… well, let's just say they were more like cheesy rocks than crackers! But the smell alone, that rich, sharp cheddar aroma baking away, kept me going. This recipe, hon, it's the culmination of those kitchen adventures, a truly satisfying bite that just makes you smile.
I still laugh thinking about the time I tried to roll the dough too thick, convinced it would make them extra 'cheesy-puffy.' Nope! They came out like dense, crumbly biscuits, totally missing that signature snap. My family, bless their hearts, pretended they were a new kind of scone. Oops! Live and learn, right? Now I know the secret to those perfectly crispy homemade cheese crackers, and I'm here to spill all the beans, or rather, all the cheese!
Ingredients for Homemade Cheese Crackers
- All-Purpose Flour: This is the backbone of our crackers. Don't go fancy with bread flour, you want that tender, yet crisp texture. Honestly, I've tried whole wheat once, and it just wasn't the same. Stick to good old AP for these homemade cheese crackers.
- Sharp Cheddar Cheese: The star of the show! Please, please, please, grate your own. Pre-shredded cheese has anti-caking agents that can make your crackers less tender and melt weird. I swear by a really good, aged sharp cheddar it gives such a deep, savory punch.
- Unsalted Butter: Cold and cubed, this is crucial for that flaky, crispy texture. Think pie crusts! I tried using room temp butter once, and the dough was a greasy mess. Just don't.
- Cold Water: A little bit helps bring everything together. Keep it icy cold, it helps keep that butter from melting too soon, which is key for the texture of these homemade cheese crackers.
- Baking Powder: Just a touch to give them a little lift and lightness. It makes all the difference between a dense cracker and one with a satisfying snap.
- Worcestershire Sauce: My secret weapon for an extra layer of savory depth. You won't taste it directly, but it just amplifies that cheesy goodness. Trust me on this one.
- Smoked Paprika & garlic Powder: These flavor boosters add warmth and a subtle smoky kick that complements the cheddar so well. Don't skip them, they really round out the flavor profile of your homemade cheese crackers.
Instructions for Crispy Homemade Cheese Crackers
- Combine Dry Ingredients:
- First things first, grab a big bowl. Toss in your all-purpose flour, baking powder, and a good pinch of salt. Give it a whisk or a quick stir to make sure everything's evenly distributed. This step is super simple, but honestly, it sets the stage for uniform flavor throughout your homemade cheese crackers. I always make sure to use a wide bowl so I don't make a flour cloud all over my counter learned that the hard way, many times!
- Cut in the Butter and Cheese:
- Now for the fun part: adding that cold, cubed unsalted butter and your freshly grated sharp cheddar. You can use a pastry blender, two knives, or even your fingertips. The goal here is to work quickly, incorporating the butter and cheese until the mixture resembles coarse crumbs, with some pea-sized pieces of butter still visible. This is where the magic happens for that flaky texture. If your hands are warm like mine sometimes are, you might want to chill the butter and cheese even more. I once spent too long on this step, and the butter started melting, making the dough sticky and hard to work with later!
- Add Wet Ingredients & Form Dough:
- Next, pour in your icy cold water, Worcestershire sauce, smoked paprika, and garlic powder. Mix everything until the dough just starts to come together. Be careful not to overmix! Overworking the dough can lead to tough crackers, and we want that crisp snap, right? Once it's mostly cohesive, turn it out onto a lightly floured surface. It might look a little shaggy at first, but a few gentle kneads will bring it all together. It smells so wonderfully cheesy at this point, I swear!
- Chill the Dough:
- Form the dough into a flat disc, wrap it tightly in plastic wrap, and pop it into the fridge for at least 30 minutes. Honestly, I find an hour is even better. This chilling time is non-negotiable for these homemade cheese crackers, it allows the gluten to relax and solidifies the butter, making the dough much easier to roll out thinly. I once skipped this step when I was in a rush, and the dough tore and stuck to everything. Don't be like past-me, just chill it!
- Roll and Cut:
- Preheat your oven to 350°F (175°C). Once the dough is chilled, take half of it and roll it out on a lightly floured surface. You want it really, really thin like, 1/16th of an inch. Think paper-thin for maximum crispness! Use a small cookie cutter (a square or circle works great) or a knife to cut out your cracker shapes. I often use a pizza cutter for quick squares. Arrange them on a baking sheet lined with parchment paper, making sure they're not touching too much. Don't forget to prick each cracker a few times with a fork to prevent puffing. This is where you can get a little messy with flour, it's part of the fun!
- Bake to Golden Perfection:
- Bake your homemade cheese crackers for 12-15 minutes, or until they're golden brown and wonderfully crispy. Keep a close eye on them, especially towards the end, as they can go from perfectly golden to burnt in a flash! The smell that fills your kitchen during this step is just incredible pure cheesy heaven. Once they're done, let them cool completely on a wire rack. They'll crisp up even more as they cool, giving you that satisfying crunch we're chasing!
Honestly, there's something so satisfying about pulling a tray of these golden, crunchy squares out of the oven. It always takes me back to being a kid, but with the added pride of knowing I made them myself. The kitchen usually looks like a flour explosion happened, but it's totally worth it for that first bite. My husband usually snatches one straight off the cooling rack, still warm and dangerously delicious.
Storing Your Homemade Cheese Crackers
So, you've made a glorious batch of homemade cheese crackers, and you're wondering how to keep them perfectly crisp. I've been there! The trick is an airtight container, really. I usually store them in a cookie tin or a sturdy plastic container with a tight-fitting lid. If they get a little soft after a day or two (which can happen, especially if it's humid), don't panic! You can often crisp them up again by popping them back into a preheated oven at 300°F (150°C) for about 5-7 minutes. Just keep an eye on them so they don't burn. I once left a batch in a bowl on the counter, thinking "they'll be fine," and by morning they were... not fine. Definitely not the same satisfying crunch. They usually last about 3-5 days this way, if they even last that long in my house!

Homemade Cheese Crackers Substitutions
I love experimenting with these homemade cheese crackers, and honestly, some swaps work better than others. For the cheese, you can totally play around! I've tried using a mix of Gruyere and Parmesan, and it gives a lovely nutty flavor, though it's a bit milder than sharp cheddar. A smoked gouda would also be incredible if you're into that. I once tried a pre-shredded mozzarella mix because that's all I had, and while it melted, it didn't give that intense cheesy flavor I was hoping for. For the spices, feel free to adjust! A pinch of cayenne pepper or a dash of hot sauce (reduce the water slightly) can add a nice kick. I've even added a teaspoon of dried herbs like thyme or rosemary, which was surprisingly good, especially with a glass of wine. Just remember, these are your crackers, so make them your own!
Serving Your Homemade Cheese Crackers
These homemade cheese crackers are fantastic on their own, but they also play well with others! I love serving them with a simple bowl of tomato soup the crunch against the creamy soup is just divine. They're also perfect alongside a charcuterie board with some fresh fruit, olives, and a little fig jam. For a quick snack, a dollop of hummus or a creamy dip like spinach artichoke dip is a winner. And honestly, for a movie night, a big bowl of these with a glass of sparkling cider or a crisp white wine? Yes please. They're savory enough to stand up to bold flavors but subtle enough not to overpower. My kids love them with just a slice of apple or some carrot sticks. So versatile!
The Story Behind Homemade Cheese Crackers
While the idea of crispy, cheesy crackers feels as American as apple pie, the concept of baked dough with cheese has roots much deeper and wider. Think about the simple, savory biscuits and flatbreads that have been around for centuries across different cultures. For me, making homemade cheese crackers is less about a specific historical origin and more about a feeling that nostalgic comfort of a familiar snack, elevated. It's about taking something commercially produced and bringing it back to its simplest, most wholesome form in your own kitchen. It connects me to a simpler time, a time of slow afternoons and thoughtful baking. There's a real joy in crafting something so beloved from just a few basic ingredients, a small act of culinary rebellion against the convenience aisle.
So there you have it, my friends. A recipe for homemade cheese crackers that's been tried, tested, and loved through countless kitchen adventures (and a few minor mishaps, to be real). They’re crispy, they’re cheesy, and they're just so incredibly satisfying. I really hope you give them a whirl and find as much joy in making and munching them as I do. Let me know how your batch turns out I love hearing about your kitchen wins (and funny fails!).

Frequently Asked Questions About Homemade Cheese Crackers
- → Can I use different types of cheese for these homemade cheese crackers?
Absolutely! I've had great luck with Gruyere, Parmesan, or even a smoked cheddar. Just make sure it's a hard or semi-hard cheese that grates well. Softer cheeses can make the dough difficult to handle, honestly.
- → My dough is too sticky, what did I do wrong?
This usually means your butter wasn't cold enough, or you added a bit too much water. Try chilling the dough for an extra 30 minutes, or dusting your surface with a little more flour when rolling. It happens to me sometimes too!
- → How do I get my crackers really crispy?
The secret is rolling the dough super thin like, paper-thin. And don't overcrowd the baking sheet! That allows them to crisp up evenly instead of steaming. I learned that after many less-than-crispy batches.
- → Can I make the dough ahead of time for these homemade cheese crackers?
Yes, you can! Wrap the dough disc tightly in plastic wrap and store it in the fridge for up to 2 days. Just let it sit out for 10-15 minutes before rolling to make it a bit more pliable. So handy for busy days!
- → What if I don't have a specific cracker cutter?
No worries at all! I often use a pizza cutter to make simple squares or rectangles. You can even use the rim of a small glass for round crackers. Get creative, it's all about the flavor!