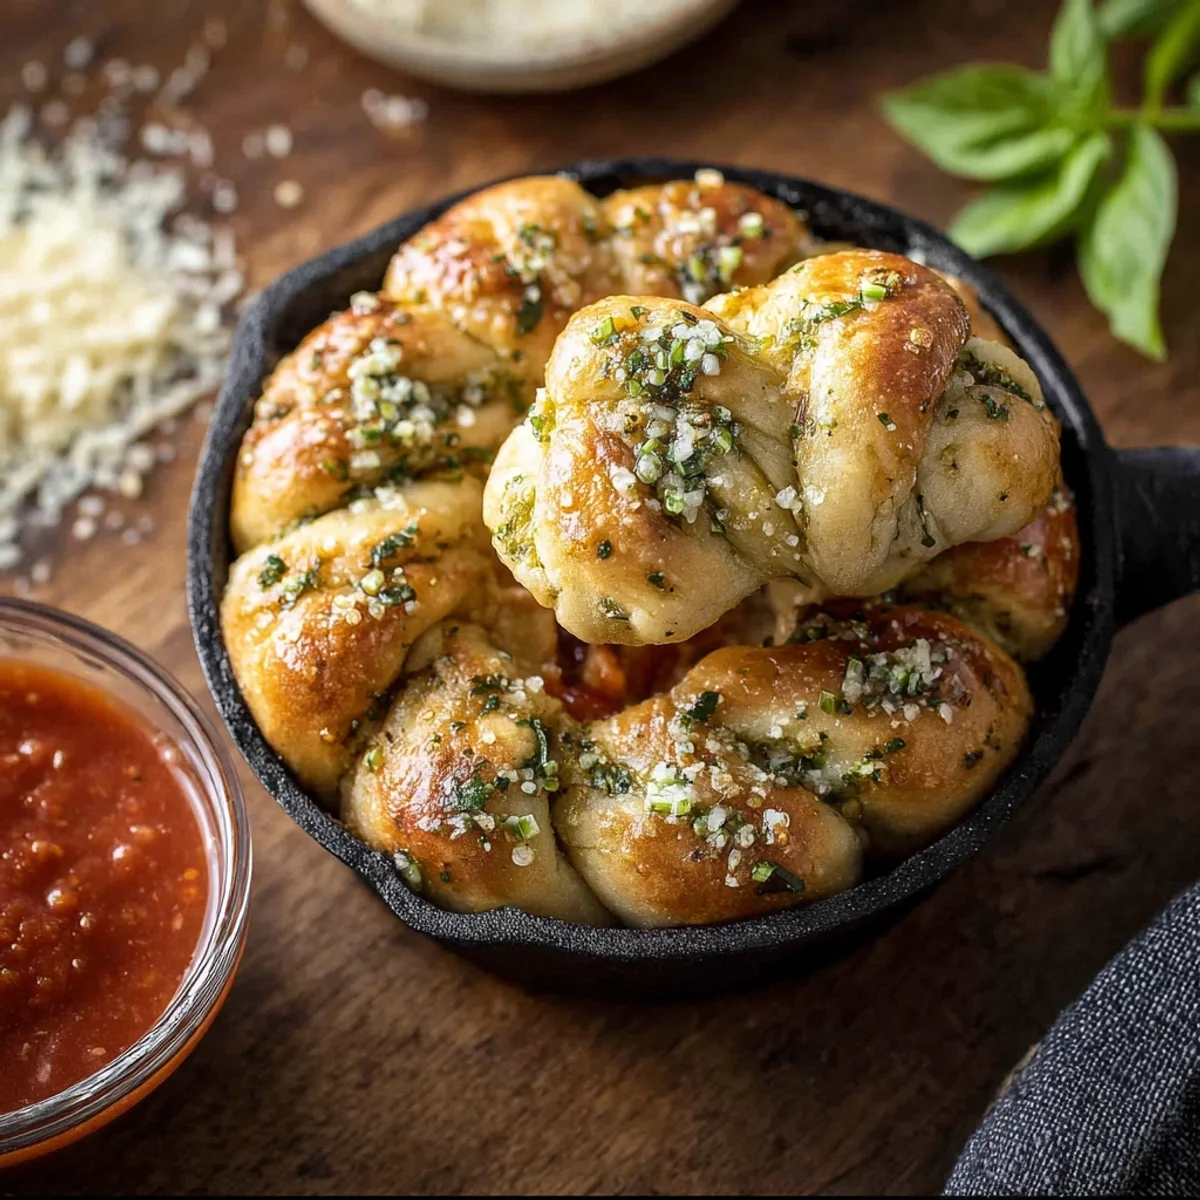


I remember the first time I tried to make Easy Homemade Garlic Knots. It was a Saturday night, and I was craving that buttery, garlicky goodness you get from a good pizzeria, but, you know, without putting on actual pants. My kitchen, bless its heart, looked like a flour bomb went off. Dough stuck to everything! But oh, the smell when that garlic butter hit the warm bread, it filled the whole apartment with this incredible aroma. It felt like I was bringing a little piece of my favorite Italian spot right into my own space. This recipe, honestly, has become a comforting hug in food form. It’s a little messy, a little chaotic, but always worth it.
One time, I was trying to rush the proofing process for my Easy Homemade Garlic Knots dough by putting it near a slightly-too-warm oven. Big mistake! The yeast got a little too excited, and I ended up with a dough monster overflowing its bowl. Flour everywhere, sticky hands, a total mess. But after a good laugh (and a lot of cleaning), I learned patience is key. The second batch, proofed properly, was absolutely glorious. Sometimes, the kitchen chaos is part of the fun, right?
Easy Homemade Garlic Knots: Gathering Ingredients
- All-purpose flour: This is the backbone of our Easy Homemade Garlic Knots. Don't skimp on quality here, a good unbleached flour makes a difference in texture, I swear. I once tried a weird off-brand and the dough just felt... sad. Stick to what you know!
- Active dry yeast: The magic maker! Make sure it's fresh, old yeast is a recipe for dense, sad knots. I always check the expiry date. If it doesn't get foamy in the warm water, toss it and start over. Trust me, I've wasted too many batches on lazy yeast.
- Granulated sugar: Just a touch, to wake up that yeast and give a hint of sweetness to the dough. It’s not about making it sweet, but about balance.
- Warm water: Crucial for activating the yeast. Think bathwater warm, not hot tub hot. Too hot, you kill the yeast, too cold, it stays sleepy. I always test it on my wrist first, like a baby bottle.
- Olive oil: Adds richness and helps with a tender crumb. A good extra virgin olive oil makes a subtle but noticeable difference in the final flavor. I once used vegetable oil in a pinch, and it was fine, but not the same depth.
- Salt: Essential for flavor, both in the dough and in the garlic butter. Don't forget it! I've baked bread without salt before (oops), and it tasted like... well, like nothing. A pinch of good sea salt makes everything sing.
- Unsalted butter: For that glorious garlic butter. Unsalted is key so we can control the saltiness. I melt it low and slow to avoid burning, a little patience here goes a long way.
- Fresh garlic: The star of these Easy Homemade Garlic Knots, obviously! I go heavy on the garlic, honestly. Minced super fine or grated. Fresh is non-negotiable here, powdered garlic just doesn't deliver that pungent, aromatic kick we're after.
- Fresh parsley: For a pop of color and a fresh herbaceous note. Chopped fine, it adds a lovely contrast to the rich garlic butter. Dried parsley is okay, but fresh makes these knots feel special.
- Parmesan cheese (optional): A sprinkle at the end is a game-changer. Adds a salty, umami kick. I always have some on hand for grating over pasta, so it usually ends up on my knots too!
Making Your Easy Homemade Garlic Knots
- Activate the Yeast:
- First things first, let's get that yeast going! In a large mixing bowl, combine your warm water, sugar, and yeast. Give it a gentle stir and then just let it sit for about 5-10 minutes. You're looking for a foamy, bubbly surface that's how you know your yeast is alive and ready to party! If it looks flat, your yeast might be dead, and you'll need to start fresh. I've definitely learned this the hard way after waiting patiently only to realize my yeast was a dud. Don't make my mistake!
- Mix the Dough:
- Once your yeast is frothy, add the olive oil and salt to the bowl. Gradually mix in the flour, a cup at a time, until a shaggy dough forms. I usually start with a wooden spoon and then switch to my hands when it gets too stiff. It's going to be a bit sticky at first, that's okay! You want it to come together but not be super dry. The feel of the dough in your hands is important here, it should feel alive, not stiff.
- Knead and Rise:
- Turn the dough out onto a lightly floured surface and knead it for about 5-7 minutes. It should become smooth and elastic. This is where you build the structure for soft Easy Homemade Garlic Knots! Place the kneaded dough into a lightly oiled bowl, turning it once to coat, then cover with plastic wrap or a damp towel. Let it rise in a warm spot for 1 to 1.5 hours, or until it has doubled in size. This is where the magic happens, so don't rush it!
- Shape the Knots:
- Gently punch down the risen dough to release the air. Turn it out onto a lightly floured surface and divide it into about 16-20 equal pieces. Roll each piece into a thin rope, about 6-8 inches long. Now, tie each rope into a knot! It doesn't have to be perfect, hon, just a knot. Place the shaped knots on a parchment-lined baking sheet, leaving a little space between them. I sometimes make mine too big, and they end up merging in the oven, oops!
- Second Rise & Bake:
- Cover the shaped knots loosely with plastic wrap and let them rise again for another 30-45 minutes, or until visibly puffy. While they're doing their thing, preheat your oven to 400°F (200°C). Bake the knots for 12-15 minutes, or until they're golden brown and smell absolutely incredible. The kitchen will start smelling like a dream, honestly, it's the best part of making Easy Homemade Garlic Knots.
- Garlic Butter Finish:
- While the knots are baking, melt the butter in a small saucepan. Add the minced fresh garlic and cook for just a minute until fragrant don't let it brown! Remove from heat and stir in the fresh parsley and a pinch of salt. As soon as the knots come out of the oven, brush them generously with this glorious garlic butter. They'll soak it right up, becoming super fragrant and shiny. A sprinkle of Parmesan at this point is a personal favorite flourish!
Honestly, every time I make these Easy Homemade Garlic Knots, it brings me back to simpler times. There's something so therapeutic about kneading dough, feeling it transform under your hands. Even when flour gets on my nose and my counters are a mess, the process itself is a joy. And then, that first bite of a warm, buttery, garlicky knot? Pure bliss. It’s a small, delicious victory in my kitchen, every single time.
Easy Homemade Garlic Knots: Storage Tips
Okay, so you've made a batch of these glorious Easy Homemade Garlic Knots, and somehow, by some miracle, you have leftovers! Good for you! To keep them tasting great, let them cool completely first. I usually store mine in an airtight container at room temperature for up to 2 days. Beyond that, they start to lose a little of their magic, getting a bit tougher. I once tried microwaving a day-old knot for too long, and it turned into a rubbery sad excuse for bread so don't do that, lol. For best reheating, a quick toast in a regular oven or a toaster oven at 300°F (150°C) for a few minutes works wonders to bring back that warmth and a little crispness. Freezing? You can, but brush them with garlic butter after thawing and reheating for the best texture.

Easy Homemade Garlic Knots: Ingredient Swaps
Life happens, and sometimes you don't have exactly what the recipe calls for. I get it! For the flour, I've had decent luck with bread flour if you want a chewier knot, but all-purpose is my go-to for softness. Whole wheat flour? I tried it once, and it worked... kinda. The knots were denser, more rustic, which isn't always what you want with Easy Homemade Garlic Knots, but not bad if you're feeling adventurous. If you're out of fresh parsley, a teaspoon of dried parsley flakes can work in a pinch for color, but the flavor won't be as bright. As for the butter, if you only have salted, just omit the extra pinch of salt in the garlic butter mixture. And if you're dairy-free, a good plant-based butter substitute works beautifully for the garlic topping, I've used Miyoko's Kitchen with great results.
Easy Homemade Garlic Knots: Serving Suggestions
These Easy Homemade Garlic Knots are incredibly versatile! My absolute favorite way to serve them is alongside a big bowl of spaghetti with homemade marinara sauce, perfect for soaking up all that deliciousness. Honestly, a simple green salad with a zesty vinaigrette makes a fantastic, light counterpoint. For a super cozy night in, I love pairing them with a creamy tomato soup and a good rom-com yes please! They also make a surprisingly good appetizer for a casual dinner party, just pile them high on a rustic board. And for drinks? A crisp, dry white wine or a good craft beer always feels right. They're just so comforting, they really elevate any meal, or make a delightful snack all on their own.
The Story Behind Garlic Knots
Garlic knots, as we know and love them, are a relatively modern Italian-American invention, a brilliant culinary innovation born in the pizzerias of New York. They essentially started as a clever way to use up leftover pizza dough, transforming humble scraps into something utterly irresistible. I remember being a kid, going to our local pizzeria, and always begging for a side of these. It felt like such a special treat! This recipe for Easy Homemade Garlic Knots definitely taps into that nostalgia for me, bringing back memories of sticky fingers and garlicky breath after a night out. It's a testament to how simple ingredients, given a little love and a lot of garlic, can create something iconic and deeply comforting that resonates with so many people, myself included.
Making these Easy Homemade Garlic Knots is truly a labor of love, but one that pays off big time in smiles and satisfied tummies. There's nothing quite like pulling a fresh batch from the oven, smelling that incredible aroma, and knowing you created that magic. It’s more than just a recipe, it’s a little piece of comfort, a connection to those cherished pizzeria memories. I hope you give them a whirl in your kitchen, even with a little flour chaos. Tell me, how do your knots turn out?

Frequently Asked Questions About Easy Homemade Garlic Knots
- → Can I make the dough for these Easy Homemade Garlic Knots ahead of time?
Absolutely! I often make the dough the night before. After the first rise, punch it down, put it in an oiled bowl, cover it tightly, and pop it in the fridge. The next day, let it come to room temperature for about 30-60 minutes before shaping. It works like a charm!
- → What if I don't have fresh yeast for Easy Homemade Garlic Knots?
If you only have instant yeast, you can use the same amount and mix it directly with the flour and other dry ingredients. Skip the activation step in water. I've done this when I'm feeling lazy, and it still yields lovely, fluffy knots.
- → Why are my homemade garlic knots tough?
Oh, I've been there! Tough knots usually mean you've either over-kneaded the dough, making the gluten too strong, or baked them for too long. Keep an eye on the kneading time and pull them from the oven as soon as they're golden. Practice makes them soft and airy!
- → How do I store leftover Easy Homemade Garlic Knots?
Store any leftovers in an airtight container at room temperature for up to two days. For longer, you can freeze them for a month. Just make sure they're completely cool before storing, otherwise, they'll get soggy, which is a mistake I learned the hard way.
- → Can I add other seasonings to the garlic butter for Easy Homemade Garlic Knots?
Totally! I love experimenting. Sometimes I add a pinch of dried oregano or a tiny bit of red pepper flakes for a kick. You could even try a sprinkle of onion powder. Play around with it and see what flavors you love! Don't be afraid to make them your own.