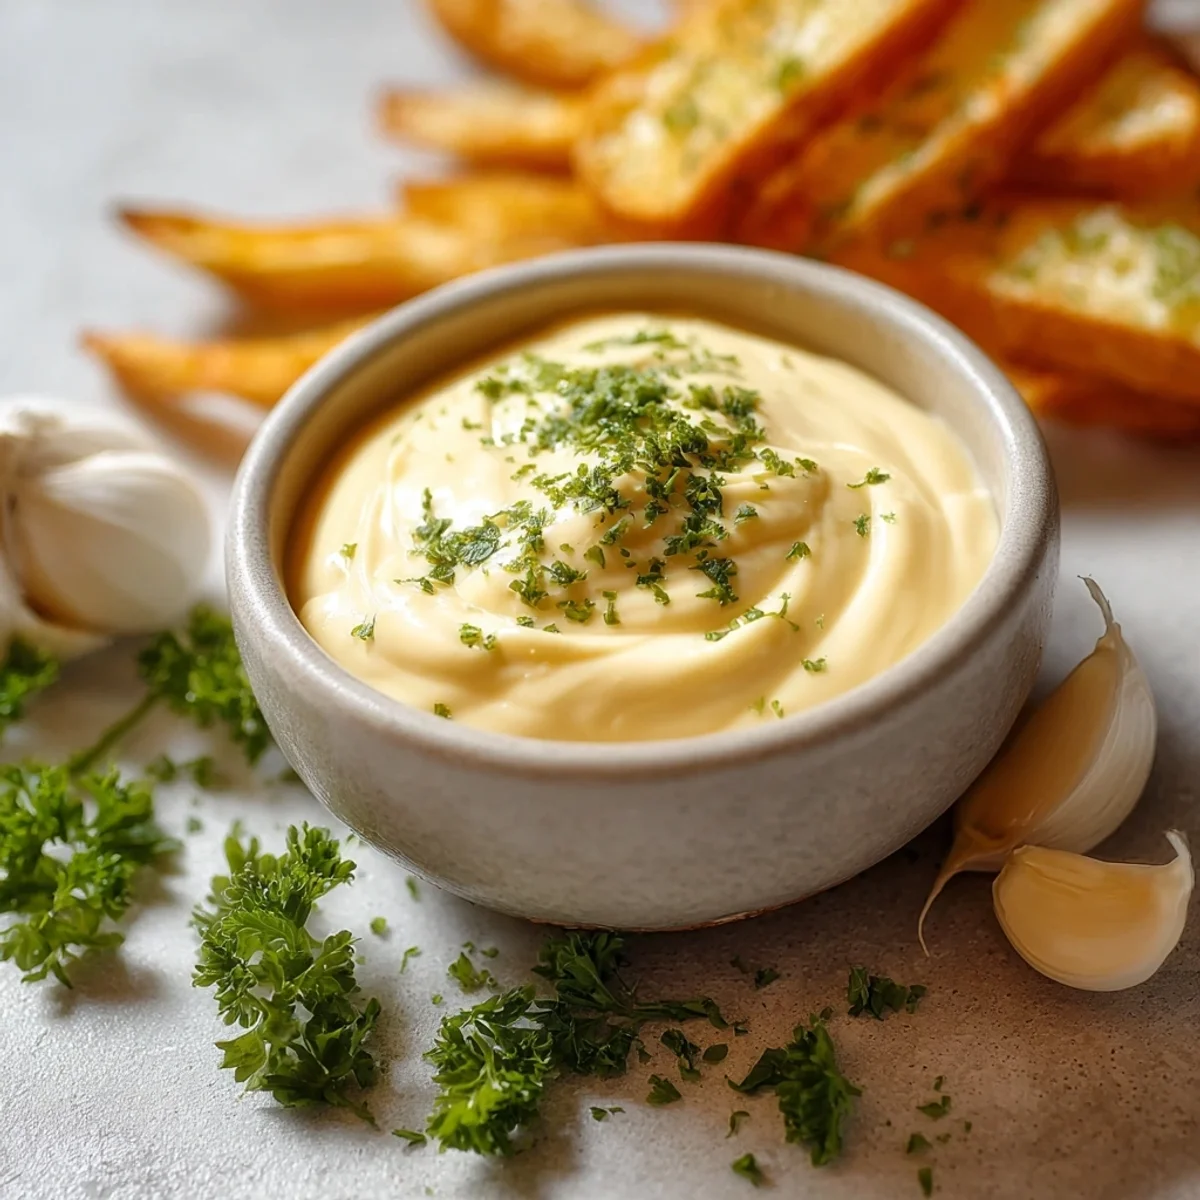


I remember the first time I truly appreciated a good aioli. It wasn't in some fancy restaurant, honestly. It was a sun-drenched afternoon, sitting by the coast, dipping crispy fries into a little ramekin of something so much better than plain mayo. I thought, 'I have to make this at home.' My first few tries? A bit of a lumpy mess, to be real. But the journey to perfecting this creamy garlic homemade aioli recipe became a little kitchen quest, and now it’s a staple. There's just something magical about transforming humble egg yolks and oil into this velvety, flavorful sauce. It just makes everything feel a little more special, a little more 'me.'
My very first attempt at homemade aioli involved a lot of frantic whisking and, oops, pouring the oil in way too fast. It separated into a sad, oily mess, and I almost gave up. But a friend told me to just keep going, slowly, slowly. And you know what? It eventually came together! It taught me patience, and honestly, a good arm workout. Now, it’s one of those recipes I can practically make with my eyes closed.
Ingredients for Homemade Aioli
Base Ingredients
- Egg Yolk: This is the emulsifier, the heart of it all. Don't skimp on freshness here, it really makes a difference. I've used older eggs once, and the aioli just didn't get as thick.
- Dijon Mustard: That little tangy kick is a must for both flavor and helping the emulsion along. French's works, but a good grainy Dijon honestly gives it more depth. I tried a honey mustard once, and it was... interesting, but not classic aioli.
- fresh Lemon Juice: Brightens everything up and cuts through the richness. Always, always freshly squeezed. The bottled stuff just doesn't have the same zing, and I've had batches taste flat because of it.
- Garlic Cloves: For me, more is more. I usually double the amount! Crushed, not minced too fine, just to get that potent garlicky goodness. I once forgot to crush them enough, and had little crunchy bits not what you want.
The Oil & Seasoning
- Neutral Oil (Grapeseed or Canola): Grapeseed is my jam for homemade aioli. Olive oil is too strong, trust me, I've tried it, and it was... robust. Like, really robust. You want something that lets the garlic shine.
- Salt: Essential for bringing out all the flavors. Start small, taste, and then adjust. I've over-salted before and had to toss a whole batch, which was a real bummer.
- Black Pepper: A little grind, just because. Freshly cracked, always! It adds a subtle warmth that you just don't get from pre-ground.
Instructions for Homemade Aioli Whisking Magic
- Prep the Base:
- First things first, get your egg yolk, Dijon mustard, and fresh lemon juice into a medium bowl. Give them a good whisk until they're nicely combined and look a bit pale. This is where the magic begins, honestly, seeing these simple things come together. Make sure your bowl isn't too big, or it'll be a pain to whisk later. I once used a huge mixing bowl, and my arm gave out before the aioli even started to thicken!
- Add the Garlic:
- Now, crush your garlic cloves and stir them into the egg yolk mixture. You want that fresh, pungent aroma to infuse everything right from the start. I usually use a garlic press for this, but a finely grated clove works too. Just don't forget this step like I did once, and then had to try and mix it in later it never quite blended right and tasted like raw garlic bits, oops!
- Start the Emulsion (Slowly!):
- This is the make-or-break moment for your homemade aioli. Begin adding the neutral oil, literally drop by drop, while whisking continuously and vigorously. You want a super thin, steady stream, like a tiny thread. Don't be shy with the whisk, your arm will thank you later! If you add too much too fast, it'll split, and that's a sad sight, trust me.
- Whip Until Thick:
- As you continue to add the oil in that slow, steady stream, you'll feel the mixture start to thicken. It's like watching a science experiment unfold, so satisfying! Keep whisking until it reaches a thick, creamy consistency, similar to mayonnaise. It should hold its shape on the whisk. If it feels a bit thin, just keep adding oil slowly and whisking.
- Season and Adjust Your Homemade Aioli:
- Once your aioli is thick and luscious, it’s time to season it. Add a pinch of salt and a grind of fresh black pepper. Now, taste it, really taste it. This is your aioli, so adjust the salt, pepper, or even a little more lemon juice to your liking. I often add a bit more lemon than the recipe calls for because I love that extra brightness, and it helps balance the richness.
- Serve or Chill:
- Your beautiful homemade aioli is ready! You can serve it immediately, maybe with some warm crusty bread or crispy fries, or transfer it to an airtight container. It needs to chill in the fridge for at least 30 minutes to let those flavors meld even more. Honestly, it always tastes better after a little rest. Garnish with a sprinkle of paprika or fresh parsley if you're feeling fancy!
Making this homemade aioli always feels like a little victory in my kitchen. The first time it came out perfectly thick and glossy, I remember just staring at it, so proud. It’s funny how a simple sauce can bring such joy. I even splattered a bit of oil on my favorite apron that day, but it was totally worth it for that creamy, garlicky goodness.
Storing Your Homemade Aioli
So, you've whipped up a batch of glorious homemade aioli, now what? It needs to be stored in an airtight container in the fridge, plain and simple. Because it contains raw egg yolk, it's best to consume it within 3-4 days. I've pushed it to 5, but honestly, the quality starts to decline after day 3. I microwaved it once to warm it up (don't ask why, it was a moment of weakness), and the sauce separated into an oily, curdled mess so don't do that, lol! It doesn't freeze well either, the emulsion breaks down, leaving you with a weird texture. So, make a batch you know you'll use, or share it with friends!

Twists on Your Homemade Aioli
Experimenting with homemade aioli is half the fun! I once tried swapping out half the lemon juice for lime juice, and it gave it a brighter, almost zesty kick that was surprisingly good with fish tacos. For a smoky flavor, I've added a tiny pinch of smoked paprika or even a dash of liquid smoke, it worked, kinda, for burgers. If you're out of Dijon, a strong yellow mustard can work in a pinch, but the flavor won't be as nuanced. I also love roasting the garlic first for a sweeter, mellower aioli it's a game-changer if you have the time! Just wrap the head in foil, roast until soft, then squeeze out the cloves.
Serving Suggestions with Homemade Aioli
Oh, the possibilities with homemade aioli! Honestly, it makes everything better. My absolute favorite is dipping crispy, hot French fries into it pure bliss. But it's also incredible smeared on a turkey sandwich, replacing boring old mayo. It's a dream with roasted vegetables like asparagus or Brussels sprouts, giving them a rich, garlicky hug. I love it alongside grilled fish or shrimp, especially on a warm summer evening with a crisp white wine. And don't even get me started on slathering it on a burger or using it as a dip for artichoke hearts. This dish and a good rom-com? Yes please!
Cultural Backstory of Aioli
Aioli, at its heart, is a Mediterranean classic, a rich, emulsified sauce that basically translates to 'garlic and oil.' It's often considered the mother of mayonnaise, but with a much bolder, garlicky personality. In places like Provence, France, or Catalonia, Spain, aioli is more than just a condiment, it's a way of life, served with everything from seafood to vegetables to bread. My personal connection to it started with a trip to Spain, trying it with patatas bravas. I was hooked! The simplicity of its ingredients, yet the complexity of its flavor, really resonated with me. It’s a testament to how humble ingredients can create something truly extraordinary, a little taste of sunshine and tradition.
There’s just something incredibly satisfying about making this homemade aioli from scratch. It’s a little bit of effort, but the reward is so worth it a creamy, garlicky hug for your taste buds. It always turns out so much better than anything you can buy in a jar, honestly. I hope you give it a try and find as much joy in it as I do. Let me know how your batch turns out!

Frequently Asked Questions About Homemade Aioli
- → Why did my homemade aioli separate?
Oh, that's happened to me too! Usually, it's because the oil was added too quickly or the ingredients weren't at room temperature. Patience is key with that slow, slow drizzle of oil. Don't rush it!
- → Can I use extra virgin olive oil for homemade aioli?
You can, but I don't recommend it for a classic taste. Extra virgin olive oil can be quite strong and bitter, overpowering the delicate garlic flavor. I tried it once, and it was a bit much, honestly.
- → How long does homemade aioli last in the fridge?
Because it contains raw egg yolk, it's best to enjoy your homemade aioli within 3-4 days when stored in an airtight container in the refrigerator. Mine never lasts that long anyway!
- → Can I make homemade aioli without an egg yolk?
While traditional aioli uses egg yolk for emulsion, you can make a vegan version using aquafaba (chickpea brine) as a substitute. I've experimented with it, and it works surprisingly well, though the texture is slightly different.
- → What's the easiest way to make homemade aioli?
Honestly, an immersion blender makes it super easy! Just combine all ingredients (except most of the oil) at the bottom of a jar, then slowly drizzle in the oil while blending. It comes together in seconds, no arm workout needed!