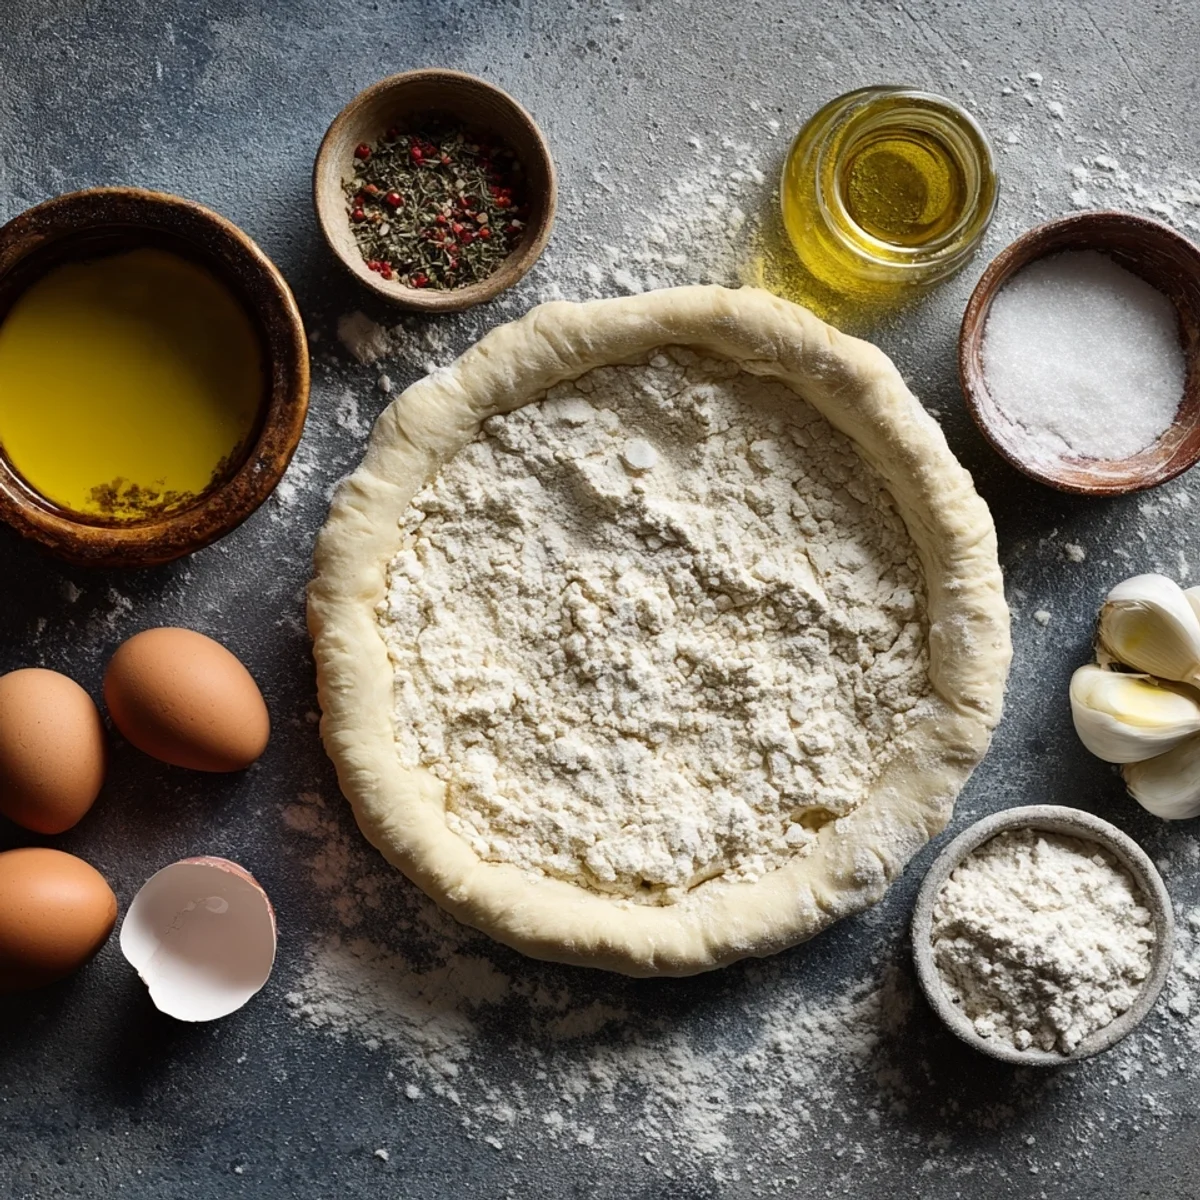


Okay, friend, let me tell you about a game-changer. I used to think homemade pizza dough was this mythical beast only experienced bakers could conquer. Then, one lazy Sunday, I stumbled upon a recipe for a two-ingredient dough, and my mind was blown. Of course, I had to tinker! After a few "oops, too sticky!" moments, I perfected this High Protein Greek Yogurt Pizza Dough. It’s become my go-to for quick weeknight dinners and impresses everyone. Seriously, you won't believe how easy and delicious it is!
Oh man, I remember one time, early on, I completely forgot the baking powder in my Greek Yogurt Pizza Dough. The dough looked... sad. Flat, dense, and when it baked, it was basically a cracker. My husband tried to be polite, bless his heart, but even he couldn't fake enthusiasm. We ended up just eating the toppings with a fork. Live and learn, right? Now, I double-check those leaveners!
Ingredients for the Best Greek Yogurt Pizza Dough
- 1 1/4 cups all-purpose flour: This is our base, the trusty workhorse of our Greek Yogurt Pizza Dough. It gives us that classic pizza texture, chewy but still tender. I’ve tried using only whole wheat, and while it's good, it just doesn't have the same light-but-sturdy feel. A good quality AP flour makes all the difference here, helping create that perfect crust that holds up to all your yummy toppings without getting soggy.
- 1/2 cup whole wheat flour: Adding whole wheat flour is my little secret for extra flavor and a boost of fiber without making the dough too heavy. It adds a lovely nutty depth that complements the tang of the Greek yogurt so well. Plus, it makes me feel a tiny bit virtuous while eating pizza, which, let's be real, is a win-win! Don't skip it, it truly elevates this Greek Yogurt Pizza Dough.
- 1 cup plain non-fat Greek yogurt: Here's the star of the show, my friends! The Greek yogurt is what gives this dough its incredible protein punch and that amazing tang. It's also the magic ingredient that activates our leaveners, making the dough light and airy without needing yeast. I always go for non-fat plain any flavored stuff would be… interesting, but probably not pizza-friendly! It’s the heart of our Greek Yogurt Pizza Dough.
- 2 tsp baking powder, 1/2 tsp baking soda: These two are the dynamic duo that gives our Greek Yogurt Pizza Dough its lift! Since we're not using yeast, the baking powder and baking soda react with the acidity in the Greek yogurt to create all those lovely bubbles. Without them, you'd have a very flat, dense crust. Make sure they're fresh old leaveners are a surefire way to a pizza flop. They're essential for that perfect rise.
- 1 tbsp extra virgin olive oil: A little bit of olive oil goes a long way. It adds a subtle richness to the dough, a hint of that classic Italian flavor, and helps keep the crust tender on the inside while getting beautifully crispy on the outside. Don't skimp on the good stuff here, a quality EVOO makes a difference. It also makes the dough a bit easier to work with, preventing it from sticking too much.
- 1 tsp granulated sugar, 1/2 tsp garlic powder, 1/2 tsp onion powder: The sugar isn't for sweetness, honest! It just helps with browning and gives the crust a gorgeous golden hue. And the garlic and onion powder? Oh, those are flavor bombs! They infuse the dough with a savory essence that makes every bite of your pizza just sing. You'll wonder how you ever made pizza dough without them. They really make this Greek Yogurt Pizza Dough special.
Making Your Own Greek Yogurt Pizza Dough: The Step-by-Step Guide
- Step 1: Combine Dry Ingredients:
- First things first, grab a big mixing bowl. You want to toss in your all-purpose flour, whole wheat flour, baking powder, baking soda, salt, sugar, garlic powder, and onion powder. Give it a really good whisk! We’re aiming for everything to be evenly distributed here. This step is crucial because it ensures those leaveners are spread throughout, ready to work their magic and give our Greek Yogurt Pizza Dough that perfect lift. Don't rush this part, a well-mixed foundation makes all the difference for your crust.
- Step 2: Add Wet & Mix:
- Now for the fun part! Make a little well in the center of your dry ingredients. Pour in your plain non-fat Greek yogurt and the olive oil. Grab a sturdy spoon or a spatula and start mixing from the center outwards. It’ll look shaggy at first, a bit crumbly, but keep going. The Greek yogurt will gradually bring everything together. You’re looking for a cohesive, slightly sticky ball of what will soon be glorious Greek Yogurt Pizza Dough. Don't worry if it's not perfect yet, kneading comes next!
- Step 3: Knead the Dough:
- Flour your counter lightly and I mean lightly! Turn your shaggy dough out onto it. Now, get your hands in there and start kneading. Fold it over, press down, turn, repeat. You're aiming for a smooth, elastic ball, about 5-7 minutes of good, honest work. It should feel less sticky and more pliable. This isn't a super long knead like traditional yeast dough, but it's important for developing the gluten and making your Greek Yogurt Pizza Dough easy to roll out later. Your arms might get a mini workout!
- Step 4: Rest the Dough:
- Okay, your dough deserves a little break after all that kneading! Form it into a ball, lightly oil your mixing bowl, and pop the dough back in. Cover it with a clean kitchen towel or plastic wrap. Let it rest for at least 10-15 minutes at room temperature. This resting period is a game-changer, it allows the gluten to relax, making the Greek Yogurt Pizza Dough much easier to roll out without it springing back. Trust me, patience here pays off in a beautifully pliable crust.
- Step 5: Shape Pizza Dough:
- Once rested, divide your beautiful Greek Yogurt Pizza Dough into four equal portions. Lightly flour your work surface again. Now, for the shaping! You can use a rolling pin to get a nice round, thin base, or if you're feeling brave, try a gentle stretch and toss. I usually go for a rustic, slightly imperfect circle it adds character, right? Aim for about an 8-10 inch circle for each pizza. Don't make it too thin, or it'll get crispy too fast!
- Step 6: Bake Pizza Base:
- Carefully transfer your shaped Greek Yogurt Pizza Dough onto a parchment-lined baking sheet or a preheated pizza stone. Now, here's a little trick: bake the naked dough for 5-7 minutes before adding toppings. This par-baking step is key to avoiding a soggy bottom, especially with saucier toppings. You want it to be slightly puffed and just starting to turn golden. Once it's lightly baked, pull it out, add your favorite sauce and toppings, and pop it back in for the final bake. Perfection!
Making this Greek Yogurt Pizza Dough has become such a joyful ritual in my kitchen. The feel of the dough coming together, the subtle aroma of garlic and onion, knowing I'm creating something delicious and wholesome from scratch it’s just so satisfying. It's truly a testament to how simple ingredients can transform into something extraordinary. My kids even love helping, especially with the kneading part!
Keeping Your Greek Yogurt Pizza Dough Fresh: Storage Tips
Okay, so you've made a batch of this amazing Greek Yogurt Pizza Dough, but maybe you don't need all four pizzas tonight? No worries! You can totally make this ahead. For short-term, wrap individual dough balls tightly in plastic wrap and store them in the fridge for up to 2-3 days. I've had a few 'oops' moments where I left it too long, and it gets a bit too dense. For longer storage, you can freeze the dough! Just wrap each ball super tightly in plastic wrap, then pop it into a freezer-safe bag. It'll keep well for about a month. Thaw it in the fridge overnight before using, then let it come to room temp for about 30 minutes before shaping. Easy peasy!

Ingredient Swaps for Your Greek Yogurt Pizza Dough
I've played around with substitutions for this Greek Yogurt Pizza Dough quite a bit. For the flour, you can go all-purpose if you don't have whole wheat, but you'll miss that nutty depth and fiber. You might need slightly less liquid then, so add the yogurt gradually. As for the Greek yogurt, non-fat is my preference, but full-fat works too, it just adds a bit more richness (and calories!). I haven't tried dairy-free yogurts, but if you do, make sure it's thick and plain, and let me know how it goes! You could also experiment with different herbs in the dough, like dried oregano or basil, for an extra flavor kick. Just remember, baking is a science, so slight tweaks might need small adjustments elsewhere.
Serving Up Deliciousness with Greek Yogurt Pizza Dough
This High Protein Greek Yogurt Pizza Dough is just begging for your favorite toppings! For a classic, I love a simple Margherita with fresh mozzarella, basil, and a good San Marzano tomato sauce. But don't stop there! Think outside the box: a BBQ chicken pizza, a veggie-loaded Mediterranean dream, or even a breakfast pizza with eggs and bacon. Pair your pizza with a crisp green salad tossed in a light vinaigrette it’s the perfect fresh counterpoint to the cheesy goodness. And honestly, a nice glass of something bubbly or a cold craft beer just makes pizza night even better. Don't forget a sprinkle of red pepper flakes for a little kick!
The Backstory of Healthier Pizza: Our Greek Yogurt Pizza Dough
Pizza, in its essence, is a culinary hug from Italy, a dish born from humble ingredients that became a global phenomenon. While this particular Greek Yogurt Pizza Dough isn't traditional Italian (they'd probably gasp at no yeast!), it embodies that same spirit of making delicious food accessible and adaptable. It’s a modern twist, born from the desire for healthier, quicker options without sacrificing flavor. Think of it as an evolution, a nod to the ancient flatbreads that inspired pizza, but with a contemporary, protein-packed update. It’s about bringing that warm, communal joy of pizza night into our busy, health-conscious lives, a little culinary innovation for the modern home cook.
So there you have it, my friend! This High Protein Greek Yogurt Pizza Dough is more than just a recipe, it's an invitation to make pizza night simpler, healthier, and even more delicious. I've poured my heart (and a few kitchen mishaps!) into perfecting this for you. Give it a try, experiment with your favorite toppings, and honestly, just have fun with it! I'd love to hear your pizza adventures in the comments below. Happy cooking!

Common Questions About Greek Yogurt Pizza Dough
- Can I use full-fat Greek yogurt for this Greek Yogurt Pizza Dough?
Yep, you totally can! I usually go for non-fat because, well, protein boost without the extra fat, but full-fat will work just fine. It might make the dough a tiny bit richer and perhaps a smidge softer. Just make sure it's plain, unsweetened, and thick!
- Do I need a stand mixer to make this dough?
Nope, not at all! This Greek Yogurt Pizza Dough is super easy to make by hand. A good sturdy spoon or spatula for mixing, and then your own two hands for kneading, is all you need. I actually prefer kneading it by hand, it feels more connected to the cooking process, you know?
- Why do you par-bake the Greek Yogurt Pizza Dough base?
Great question! Par-baking is my secret weapon against a soggy pizza bottom. Since this dough bakes up relatively quickly, giving it a few minutes in the oven before adding toppings helps it firm up and cook through. It creates a barrier, so your sauce and cheese don't make the crust mushy. Trust me, it's a game-changer!
- Can I make this dough gluten-free?
Honestly, I haven't personally experimented with a gluten-free version of this specific Greek Yogurt Pizza Dough. The gluten in the flours is pretty important for the structure and chewiness. You might be able to find a good gluten-free all-purpose blend, but the texture will likely be different. If you try it, let me know your results!
- How thin should I roll out the Greek Yogurt Pizza Dough?
That's totally up to your preference, friend! I usually aim for about 1/4 inch thick, which gives a nice balance of chewiness and crispiness. If you like a super thin, cracker-like crust, go a bit thinner. For a slightly thicker, chewier crust, leave it a bit thicker. Just make sure it's even for consistent baking.