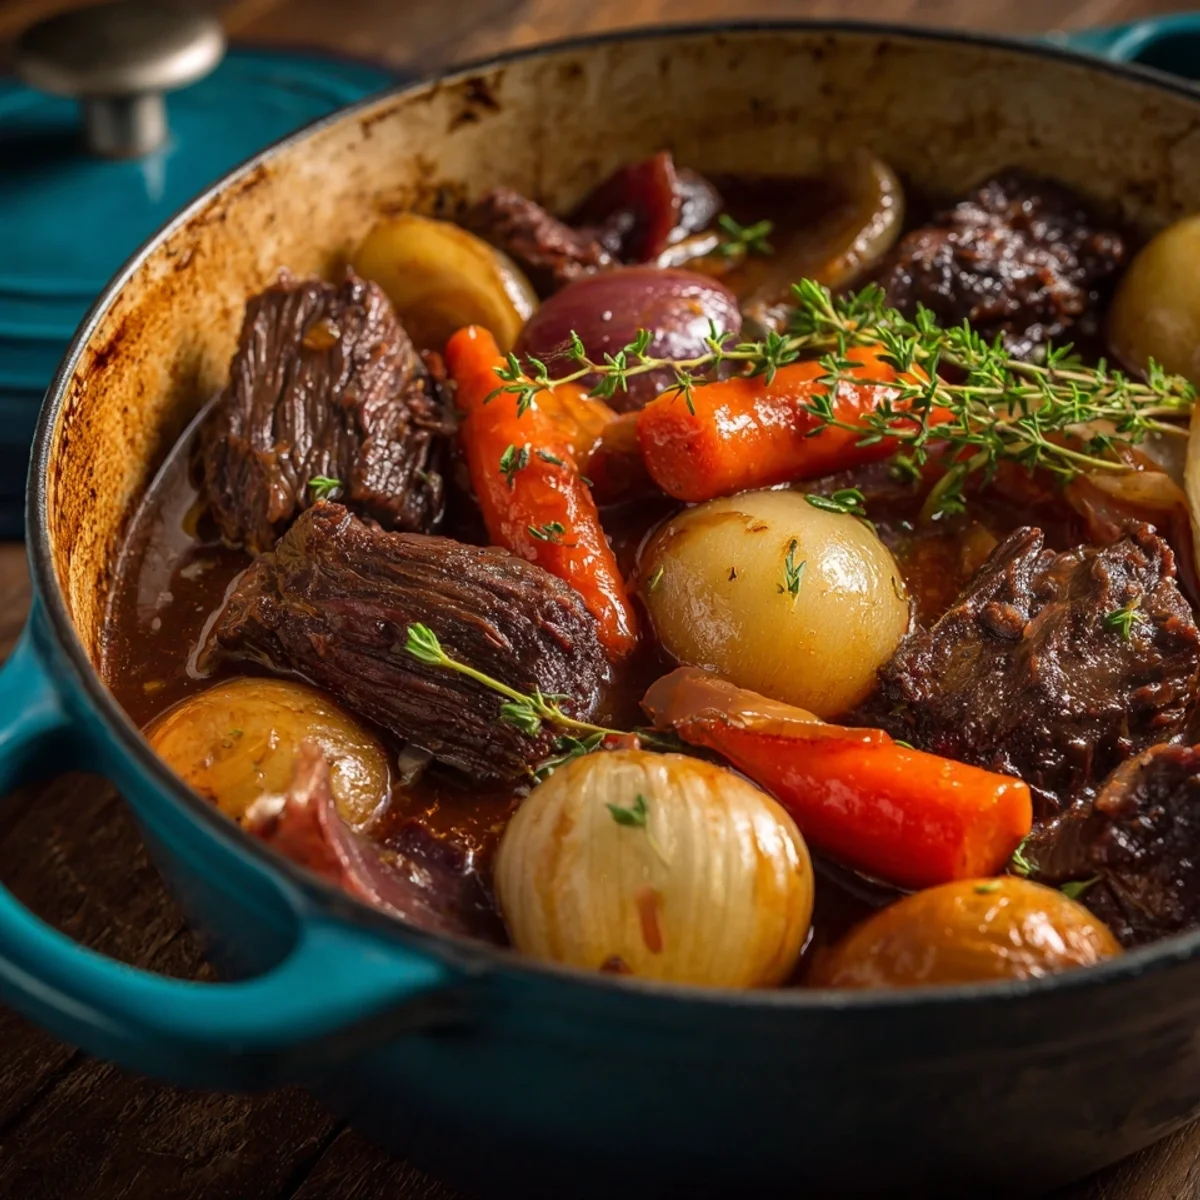


Oh, hey there, friend! Pull up a chair, grab a warm drink. I've got a recipe that's going to become your new best friend on chilly evenings: my Hearty Dutch Oven Beef Stew. I first stumbled upon this gem years ago during a particularly brutal winter storm. Power was flickering, and all I wanted was something deeply comforting, something that felt like a hug in a bowl. This stew? It delivered, and then some. It's been a staple in my kitchen ever since, a true cozy dinner champion.
Okay, so one time, I was so excited to get this stew going, I completely forgot the flour for browning the beef! I'd already seared half the batch and realized the gravy wasn't going to be thick. Oops! Had to quickly pull the beef out, dust it, and re-sear. My kitchen was a bit of a chaotic mess, but hey, the stew still turned out fantastic. A little extra effort, but a lesson learned!
Essential Ingredients for Your Next Dutch Oven Beef Stew
- 2 lbs boneless beef chuck roast, cut into 1 1/2-inch cubes: This is the star of our show, hon! Chuck roast is your go-to for stew because it has just enough fat and connective tissue to break down into melt-in-your-mouth tenderness over a long simmer. Don't skimp on quality here, it makes all the difference. Cutting it into good, chunky cubes means it won't disappear into the sauce but will give you those satisfying bites in your Dutch Oven Beef Stew. Trust me, it's worth it.
- 1/4 cup all-purpose flour: Ah, humble flour! This isn't just for coating the beef, it's our secret weapon for building a rich, thick sauce. When you sear the floured beef, those little bits caramelize and create a beautiful fond at the bottom of your Dutch oven. This fond is flavor gold, and when you add the liquid later, it'll dissolve and thicken your stew into that luscious, spoon-coating consistency we all crave. Don't skip this step for your perfect Dutch Oven Beef Stew!
- 1 large yellow onion, chopped: Onions are the unsung heroes of nearly every savory dish, right? For this stew, they provide that essential aromatic foundation. As they soften and sweeten in the pot, they release so much flavor that permeates every bite. Don't rush sautéing them, giving them time to become translucent and fragrant is crucial. It’s the first layer of depth that really makes this Dutch Oven Beef Stew sing, honestly.
- 3 medium carrots, peeled and cut into 1-inch pieces: Carrots bring sweetness, color, and a lovely earthy note to the party. I love how they soften just enough to be tender but still hold their shape, adding that perfect bite to the stew. Plus, they're packed with nutrients, so you can feel good about getting your veggies in! Don't cut them too small, or they might get mushy. We want distinct, flavorful pieces in every spoonful of our hearty stew.
- 1 1/2 lbs Yukon Gold potatoes, peeled and cut into 1 1/2-inch cubes: Yukon Golds are my absolute favorite for stew. They're waxy enough to hold their shape during the long simmer, but starchy enough to get beautifully tender and absorb all those amazing flavors. Their creamy texture is just perfect. Cutting them a bit larger, like the beef, means they won't turn into a mashed mess. They're such a comforting addition to this Dutch Oven Beef Stew, making it a truly complete meal.
- 4 cups beef broth, low sodium: The liquid base! Good quality beef broth is non-negotiable here. I always opt for low sodium so I can control the seasoning myself. This broth is what transforms all those seared bits and sautéed aromatics into a rich, savory gravy. It's the medium that marries all the ingredients together, allowing the flavors to meld and deepen over hours of gentle simmering in your Dutch oven. It's the soul of the stew, really.
Crafting the Perfect Dutch Oven Beef Stew: A Step-by-Step Guide
- Step 1: Flour the Beef:
- Okay, first things first! Grab your beef cubes and toss them with that flour, salt, and pepper in a big bowl. You want each piece to have a nice, even coating. This isn't just about seasoning, that flour is going to create a beautiful crust when we sear, and it'll help thicken our delicious gravy later. It feels a bit messy, but trust me, it's worth it for this incredible Dutch Oven Beef Stew! Get those hands in there and really coat 'em.
- Step 2: Sear the Beef:
- This step is CRUCIAL, my friend. Heat that olive oil in your Dutch oven until it's shimmering. Now, sear the beef in batches! Don't overcrowd the pot, or your beef will steam instead of brown, and we want that gorgeous, deep caramelization. It creates a ton of flavor, called 'fond,' on the bottom of the pot. Take your time, get a nice crust on all sides. This browning step is absolutely key to a flavorful Dutch Oven Beef Stew, honestly.
- Step 3: Sauté Aromatics:
- Once the beef is seared and set aside, it's time for the aromatics! Toss in your chopped onion, carrots, and celery. Listen to that sizzle! Stir them around, scraping up all those yummy browned bits (the 'fond' we just talked about) from the bottom of the pot. Let them soften and become fragrant, about 5-7 minutes. Then, add your minced garlic and cook for just another minute until you can really smell it oh, that aroma is the start of something amazing for our Dutch Oven Beef Stew.
- Step 4: Build Liquid Base:
- Now for the magic! Sprinkle in the remaining flour (if any from your beef flouring, or a tiny bit extra if you want it thicker) and stir it into the veggies for about a minute. This creates a roux that will help thicken our stew. Slowly pour in the beef broth, scraping the bottom of the Dutch oven with a wooden spoon to get up any remaining stuck-on bits. Bring it to a gentle simmer, watch as the broth starts to take on that rich, savory color. This is where the base for your incredible Dutch Oven Beef Stew really comes alive.
- Step 5: First Simmer:
- Return that beautiful seared beef to the Dutch oven, nestling it into the broth and veggies. Bring everything back to a gentle simmer, then pop the lid on. Now, the hard part: patience! Reduce the heat to low and let it simmer for about 1.5 to 2 hours. This long, slow cook is what transforms the chuck roast into fork-tender perfection. Your house will smell absolutely heavenly, a preview of the delicious Dutch Oven Beef Stew to come. Don't peek too much!
- Step 6: Add Potatoes:
- After the initial simmer, those beef cubes should be getting tender. Now's the time to add your cubed Yukon Gold potatoes! Stir them into the stew, making sure they're mostly submerged in that glorious liquid. Put the lid back on and continue to simmer for another 30-45 minutes, or until the potatoes are perfectly tender. You want them soft, but not falling apart. This final stretch brings everything together for the ultimate hearty Dutch Oven Beef Stew.
Oh, making this Dutch Oven Beef Stew is more than just cooking, it's an experience. The way the kitchen fills with the savory scent of browning beef, then sweet onions, and finally, that deep, rich aroma as it simmers for hours. It’s pure comfort, a culinary hug that warms you from the inside out. There’s something so satisfying about pulling that lid off and seeing all those beautiful, tender ingredients bubbling away.
Keeping Your Dutch Oven Beef Stew Fresh: Storage Secrets
So, you've got leftovers of this amazing Dutch Oven Beef Stew? Lucky you! This stew honestly tastes even better the next day, once the flavors have had more time to meld. Just make sure it cools completely before you stash it. Pop it into airtight containers and it'll happily live in your fridge for 3-4 days. I've definitely had an 'oops' moment or two where I forgot it on the counter too long, and sadly, it had to go. To freeze, divide into single-serving portions in freezer-safe containers or bags, leaving a little headspace. It'll keep for up to 3 months. Thaw overnight in the fridge and reheat gently on the stovetop or in the microwave. It’s a lifesaver for busy weeknights!

Creative Twists on Your Dutch Oven Beef Stew: Ingredient Swaps
I've experimented with so many twists on this Dutch Oven Beef Stew! If chuck roast isn't available, you could use stew meat or even short ribs, though cooking times might vary a bit. For veggies, feel free to swap in parsnips, turnips, or even some mushrooms for a different earthy note. I've tried adding a splash of red wine or a tablespoon of tomato paste to the liquid base for extra depth oh, that's a good one! If you're out of Yukon Golds, red potatoes work well, but russets might break down more. Don't be afraid to play around with herbs too, a sprig of fresh rosemary or thyme tossed in during the simmer adds a lovely touch. It’s super adaptable, so make it your own!
Serving Up Your Delicious Dutch Oven Beef Stew with Style
This hearty Dutch Oven Beef Stew is a meal in itself, but let's be real, a few accompaniments just elevate the whole cozy experience. My absolute favorite? A crusty loaf of sourdough bread, perfect for soaking up every last drop of that incredible gravy. Honestly, it's a must! A simple green salad with a light vinaigrette cuts through the richness beautifully, offering a fresh contrast. If you're feeling fancy, a dollop of sour cream or a sprinkle of fresh parsley on top adds a lovely finish. And for a drink? A robust red wine, like a Cabernet Sauvignon, or a dark, malty ale pairs wonderfully with the deep flavors of the beef. Dinner perfection, if you ask me!
The Heartwarming History Behind Dutch Oven Beef Stew
Beef stew has such a rich, heartwarming history, doesn't it? It's one of those ancient, universal comfort foods, found in countless variations across cultures, from Irish stew to French Boeuf Bourguignon. The idea of simmering tough cuts of meat with root vegetables in a single pot to make them tender and flavorful is as old as cooking itself. My own connection comes from my grandma, she always had a big pot of something simmering on the stove, and her stews were legendary for chasing away the chill. This Dutch Oven Beef Stew, in particular, feels like a nod to those traditions simple, nourishing, and deeply satisfying. It’s food that tells a story, a story of home and warmth.
And there you have it, folks! My go-to recipe for a Hearty Dutch Oven Beef Stew, perfect for making any evening feel a little cozier. This dish isn't just food, it's warmth, comfort, and a whole lot of love in a bowl. Seriously, give it a try. I can't wait to hear how it turns out for you! Drop a comment below and let me know your favorite part, or any tweaks you made. Happy cooking, my friends!

Your Burning Questions About Dutch Oven Beef Stew, Answered!
- → Can I make this Dutch Oven Beef Stew in a slow cooker?
You totally can! After searing the beef and sautéing the aromatics in a skillet, transfer everything to your slow cooker. Add the broth, set it on low for 6-8 hours or high for 3-4 hours. Add the potatoes for the last 1.5-2 hours of cooking. It won't get quite the same depth of flavor from the Dutch oven, but it's still delicious!
- → How can I make the stew thicker?
If your Dutch Oven Beef Stew isn't as thick as you like, you have a couple of options! You can make a quick slurry of 1 tablespoon of cornstarch mixed with 2 tablespoons of cold water, then stir it into the simmering stew and cook for a few more minutes until thickened. Or, just let it simmer uncovered for a bit longer to reduce the liquid naturally.
- → What kind of beef works best besides chuck roast?
While chuck roast is my top pick for this Dutch Oven Beef Stew, you could also use beef stew meat (often pre-cut chuck or round), or even beef short ribs if you're feeling fancy! Just remember that tougher cuts with good marbling will break down beautifully over the long cooking time, giving you that tender, flavorful result.
- → Can I add other vegetables to my Dutch Oven Beef Stew?
Absolutely! This recipe is super flexible. I often throw in parsnips for extra sweetness, or even some mushrooms for an earthy depth during the last hour of simmering. Frozen peas or green beans can be stirred in during the last 10-15 minutes of cooking for a pop of color and freshness. Go wild, friend!
- → Is it possible to make this stew ahead of time?
Oh, 100%! This Dutch Oven Beef Stew is one of those magical dishes that tastes even better the day after it's made. The flavors really have a chance to meld and deepen. Just cool it completely, store it in an airtight container in the fridge, and gently reheat it on the stovetop when you're ready to serve. Perfect for meal prep!