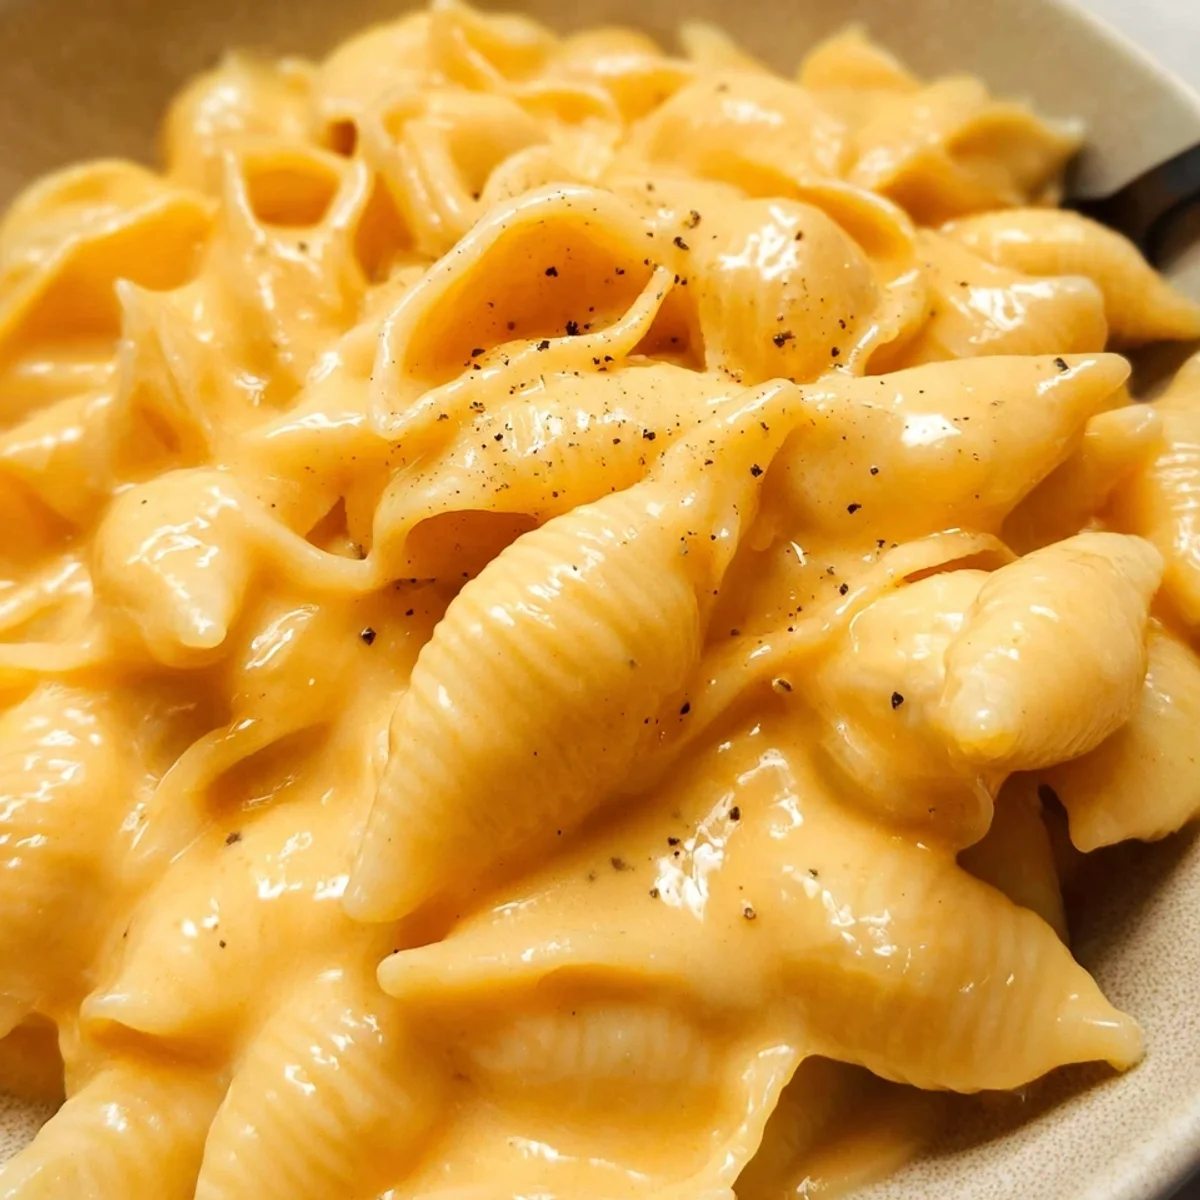


Oh, hon, there's just something about a big bowl of creamy, dreamy mac and cheese that takes you right back, isn't there? For me, it's this exact recipe. I remember my grandma whipping up a version of Velveeta and Shells on chilly evenings, the smell filling her tiny kitchen. It was pure magic, a hug in a bowl, and honestly, it’s still my go-to when I need that instant comfort hit.
Okay, confession time! One time, I was so excited to get my Velveeta and Shells going, I completely forgot to stir the pasta while it was cooking. Oops! Ended up with a giant, starchy pasta blob at the bottom of the pot. Had to start all over. Lesson learned: always, always stir those shells! My husband still teases me about my "pasta brick."
Gathering What You Need for Your Cheesy Velveeta and Shells
- 1 lb medium pasta shells: These aren't just any pasta! Medium shells are my absolute favorite for this dish because those little crevices are perfect for cradling all that glorious, cheesy sauce. Every bite is a little pocket of comfort. I've tried other shapes, but honestly, nothing quite holds onto the Velveeta goodness like these. They're the unsung hero, giving you that satisfying chew without getting lost in the sauce.
- 16 oz Velveeta cheese, cut into 1-inch cubes: Alright, let's talk about the star of the show. Velveeta! Don't let anyone tell you otherwise, this is what gives our Velveeta and Shells that unparalleled, silky smooth texture. Cutting it into cubes helps it melt evenly and quickly, preventing any sad, lumpy bits. It's the secret to that classic, melt-in-your-mouth experience we're chasing here. No substitutes quite capture its magic.
- 1 1/2 cups whole milk: Whole milk is non-negotiable for that rich, creamy base. I've tried skim in a pinch, and trust me, it just doesn't deliver the same luscious consistency. We're building a sauce here, and whole milk provides the perfect fat content to create that velvety smooth texture we all crave. It's the foundation of our cheesy dream, so don't skimp!
- 1/4 cup unsalted butter: butter isn't just for flavor, it's our starting point for an amazing sauce. It adds a layer of richness that truly elevates the dish. Unsalted is key so you can control the seasoning later. Melting it gently creates a beautiful base for our milk and cheese, ensuring everything comes together smoothly. It's that little touch of decadence that makes all the difference.
- 1/2 cup shredded sharp cheddar cheese: Okay, so Velveeta brings the melty magic, but sharp cheddar? That's where we get some serious flavor and a little tang. It adds depth and complexity, preventing the sauce from being one-note. I love how it complements the Velveeta, giving you that extra cheesy punch. Shred it yourself if you can, it melts so much better than pre-shredded!
- 1/2 tsp garlic powder: Garlic powder is my secret weapon for almost everything, and this dish is no exception! It adds a subtle warmth and savory depth without being overpowering. It just rounds out the cheese flavors beautifully. A little goes a long way, but trust me, you'll miss it if it's not there. It’s that little whisper of 'what is that amazing flavor?'
Making Your Dreamy Velveeta and Shells: The Steps
- Step 1: Cook Pasta Shells:
- First up, get a big pot of salted water boiling like crazy. Add your medium shells and cook them according to the package directions, but honestly, I always go for a minute or two less than al dente. Why? Because they'll finish cooking in that hot, glorious cheese sauce, and we don't want mushy pasta, do we? Drain them well, but don't rinse! That little bit of starch helps the sauce cling on later. Set 'em aside for a sec.
- Step 2: Melt Butter & Milk:
- Now for the magic! In a large saucepan or Dutch oven, melt that butter over medium-low heat. Once it's shimmering, pour in your whole milk. We're aiming for warm, not boiling, so keep an eye on it. Just let it get nice and cozy. This step is all about building a warm, welcoming base for our cheeses, so take your time, no rushing allowed here, friend!
- Step 3: Add Velveeta & Spices:
- Okay, here's where the Velveeta and Shells truly begins to take shape! Reduce the heat to low, then slowly start adding your Velveeta cubes to the warm milk and butter mixture. Stir, stir, stir! Keep it moving until it's all melted into a smooth, dreamy river of liquid gold. Now, sprinkle in your garlic powder, onion powder, dry mustard, and that little pinch of cayenne. Keep stirring until everything is perfectly combined and fragrant. Mmm, the aroma already!
- Step 4: Stir in Cheddar:
- Once your Velveeta is completely melted and smooth, it's time to amp up that cheesy flavor even more. Toss in your shredded sharp cheddar cheese. Keep stirring over low heat until it's fully incorporated and melted. You'll see the sauce thicken just a touch and get even more vibrant. This extra cheddar adds a wonderful depth and tang. It's an extra layer of yum!
- Step 5: Combine Pasta & Sauce:
- Alright, the moment we've been waiting for! Gently add your cooked pasta shells directly into that gorgeous, velvety cheese sauce. Fold it all together, making sure every single shell is coated in that luscious, golden goodness. See how the sauce just hugs each curve? Give it a good, gentle mix until everything is happy and coated.
- Step 6: Season and Serve:
- Give your masterpiece a taste test. This is important! Add salt and freshly cracked black pepper to your liking. Maybe a little more cayenne if you're feeling feisty? Transfer it to a big serving bowl, or honestly, just grab a fork and dig in straight from the pot I won't judge! Serve it up immediately while it’s hot and bubbly. Get ready for some serious comfort food bliss, hon. Enjoy every single cheesy bite!
Cooking this dish feels like a warm hug. It’s so simple, yet so satisfying. I love watching the Velveeta melt into that silky sauce, knowing that in just a few minutes, I’ll have a bowl of pure comfort. It’s a recipe that never fails to bring a smile to my face, whether I’m cooking for myself or my whole family. Pure joy in the kitchen!
Keeping Your Velveeta and Shells Fresh: Storage Hacks
Got leftovers? Lucky you! This Velveeta and Shells actually reheats pretty well, but you gotta do it right. Pop it in an airtight container in the fridge for up to 3-4 days. When reheating, I always add a splash of milk about a tablespoon or two per serving and warm it gently on the stovetop over low heat, stirring constantly. Or, microwave it in 30-second bursts, stirring in between. My big mistake once was just nuking it without extra liquid, it got all dry and clumpy. Not ideal! A little extra liquid helps bring back that creamy magic.

Playing with Ingredients: Substitutions for Velveeta and Shells
Okay, so I'm a purist for the Velveeta base, but I've definitely experimented! For an extra sharp kick, I've swapped half the shredded cheddar for smoked gouda hello, smoky goodness! If whole milk isn't your jam, 2% works, but you might lose a tiny bit of creaminess. For the pasta, elbows are a classic, but rotini or cavatappi also do a fantastic job of holding the sauce. I tried a low-fat Velveeta once, and honestly, it just wasn't the same. Stick with the good stuff for that signature texture!
What to Serve with Your Cozy Velveeta and Shells
This dish is a star all on its own, but sometimes I like to fancy things up a bit! A simple green salad with a zippy vinaigrette is a perfect counterpoint to all that richness. For a little protein, grilled chicken or a crispy pork chop are amazing pairings. And toppings? Oh, honey, the possibilities! A sprinkle of fresh chives, some crispy bacon bits, or even a dash of hot sauce if you like a kick. Don't forget a glass of crisp white wine or a cold sparkling cider to wash it all down. Pure bliss!
The Story Behind Our Beloved Velveeta and Shells
Velveeta has such a fascinating history, starting way back in the early 1900s! It was originally developed as a way to use up cheese trimmings talk about resourceful! It really hit its stride as a household staple in the mid-century, becoming synonymous with easy, creamy sauces. For so many of us, this dish isn't just a recipe, it's a taste of childhood, a symbol of simpler times. My mom always had a block in the fridge, and it was the ultimate treat after a long school day. It's more than food, it's nostalgia in a bowl.
So there you have it, my friends! My heart-on-my-sleeve, no-frills recipe for the ultimate Velveeta and Shells. It's more than just a meal, it's a memory, a comfort, a little bit of home. I hope it brings as much joy to your table as it does to mine. What are your favorite comfort food memories? Share them in the comments below!

Your Burning Questions About Velveeta and Shells Answered
- Can I use a different type of cheese instead of Velveeta?
While Velveeta is key for that signature smooth, creamy texture, you could try a blend of other melting cheeses like Monterey Jack and cream cheese. Just know it won't be quite the same velvety experience, as Velveeta's unique properties are hard to replicate. It's the star for a reason!
- My sauce seems too thick. What can I do?
Oh, that happens sometimes! Don't fret. Just slowly whisk in a tablespoon or two of warm milk or, even better, some of that starchy pasta cooking water you hopefully saved. Add it gradually until your sauce reaches that perfect, luscious consistency. Easy peasy!
- Can I make this ahead of time for a party?
You can, but it's best served fresh for optimal creaminess. If you must, cook the pasta and make the sauce separately. Reheat the sauce gently with a splash of milk, then combine with freshly warmed pasta just before serving. It helps keep things from getting too dry or clumpy.
- How can I add some extra flavor or a kick?
Spice it up! A dash more cayenne, a pinch of smoked paprika, or a swirl of your favorite hot sauce would be amazing. For a deeper savory note, try a teaspoon of Worcestershire sauce. Crispy bacon bits or finely chopped jalapeños are also fantastic additions for texture and heat!
- Is it possible to make this gluten-free?
Absolutely! Just swap out the regular medium pasta shells for your favorite gluten-free pasta shells. Cook them according to package directions, being careful not to overcook, as GF pasta can sometimes get mushy faster. The rest of the ingredients are naturally gluten-free, so you're good to go!