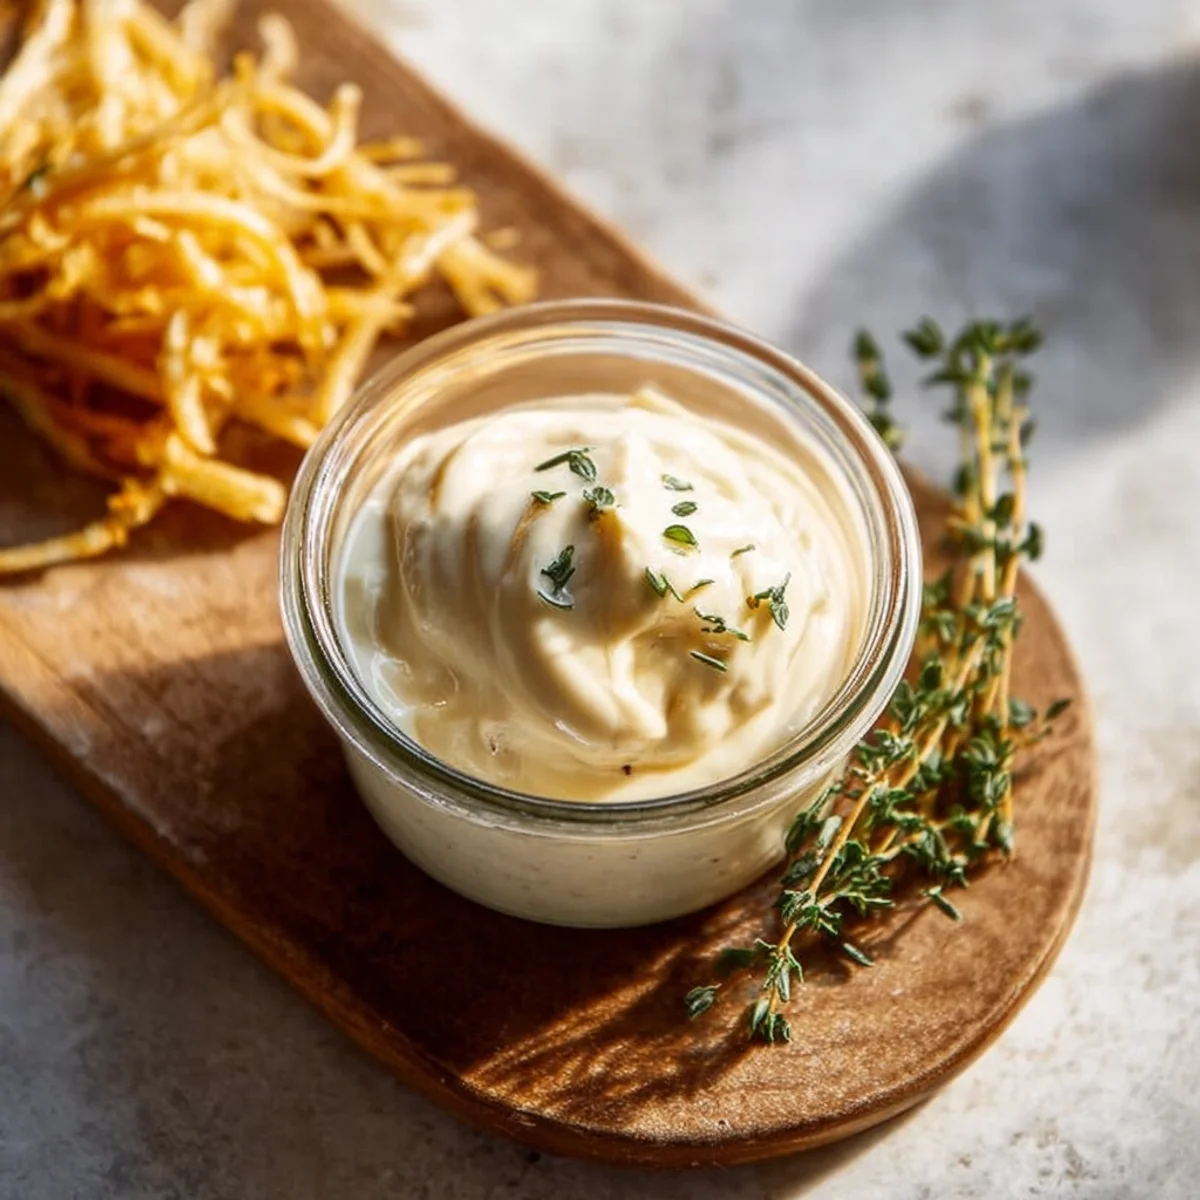


You know those recipes that just... happen? Like, you have a few things in the fridge, a vague idea, and suddenly, magic. That’s how this Easy 3-Ingredient Roasted Garlic Aioli came into my life, honestly. I remember one lazy Sunday, staring into the fridge, lamenting the lack of a good dipping sauce for some leftover sweet potato fries. All I had was a head of garlic, some mayo, and a lemon looking a little sad. I thought, "What if?" The smell of that roasted garlic filling my kitchen, sweet and earthy, was a revelation. I didn’t expect it to be so simple, or so utterly transformative. This isn't just a condiment, it’s a little hug for your taste buds, a whisper of comfort.
My first attempt at roasting garlic, years ago, was a minor disaster. I forgot the foil, and the cloves basically incinerated, leaving a smoky, acrid smell that lingered for days. My husband still teases me about it! But that’s why this recipe is so forgiving. Even if you slightly over-roast, the sweetness still shines through. This Easy 3-Ingredient Roasted Garlic Aioli is practically foolproof now, I promise.
Ingredients for Easy Roasted Garlic Aioli
- Whole Head of Garlic: This is the star! Don't skimp on quality here. Roasting transforms raw garlic's bite into something sweet, mellow, and almost caramel-like. Honestly, I always roast two heads because one just isn't enough once you start snacking on the warm cloves.
- Good Quality Mayonnaise: Think of this as your creamy canvas. I swear by a full-fat mayo, don't even think about using the low-fat stuff unless you want a watery, sad aioli. I once tried a "light" version, and it just tasted... thin. Nope.
- Fresh Lemon Juice: This brightens everything up, cutting through the richness of the mayo and the sweetness of the garlic. Freshly squeezed is non-negotiable here. Bottled lemon juice just doesn't have the same zing, and I learned that the hard way when a batch tasted flat.
- Sea Salt: Just a pinch, to taste, to bring all those beautiful flavors together. It’s amazing how a little salt can make such a difference, like finding the missing puzzle piece.
- Freshly Ground Black Pepper: Again, to taste. I love a little warmth and subtle kick, but if you're not a pepper person, that's okay too!
- Optional Fresh Chives: A sprinkle of finely chopped chives at the end adds a lovely fresh green color and a delicate oniony note. It just makes the Easy 3-Ingredient Roasted Garlic Aioli feel a bit fancy, even though it's not.
Crafting Your Easy 3-Ingredient Roasted Garlic Aioli
- Prep the Garlic Head:
- First things first, preheat your oven to 400°F (200°C). Grab that beautiful head of garlic. Slice off about a quarter-inch from the top, exposing the cloves inside. Don't worry about peeling anything yet, we want those papery skins to protect the cloves as they roast. Drizzle a tiny bit of olive oil over the exposed cloves, just enough to give them a little glow, then wrap the whole thing snugly in aluminum foil. This is where the magic starts to happen, sealing in all those amazing aromas. I always double-check my foil wrap, learned that from a past leaky mess!
- Roast Until Golden:
- Pop that foil-wrapped garlic onto a baking sheet and into your preheated oven. Let it roast for about 40-60 minutes. You’re looking for those cloves to be super soft and a lovely golden-brown. When it’s done, your kitchen will smell absolutely heavenly sweet, earthy, a little nutty. That’s your cue! I usually set a timer for 40 minutes and then check every 5-10 minutes after that. Sometimes it takes a little longer, depending on the size of the garlic head, so don't rush it. This step is crucial for the depth of flavor in your Easy 3-Ingredient Roasted Garlic Aioli.
- Extract the Roasted Goodness:
- Once the roasted garlic is cool enough to handle (don't burn your fingers, hon!), carefully unwrap it. The cloves should be so soft that you can just squeeze them right out of their skins. They'll be like little caramel-colored jewels. If they're being stubborn, a small knife or a fork can help coax them out. I usually put on some gloves for this part, because roasted garlic smell on your hands is lovely for a bit, but then it gets intense! Gather all those glorious cloves into a small bowl.
Finishing Your Creamy Roasted Garlic Aioli
- Mash and Mingle:
- Now for the fun part! Take those soft, sweet roasted garlic cloves and mash them really well with a fork until they form a paste. You want it as smooth as possible, no big chunks. This is where you can truly appreciate the transformation from pungent raw garlic to this sweet, creamy essence. I sometimes use the back of a spoon if I'm feeling lazy, and it works just as well. This smooth paste is key to a velvety Easy 3-Ingredient Roasted Garlic Aioli.
- Combine for Creaminess:
- Add your good quality mayonnaise to the mashed roasted garlic paste. Then, squeeze in the fresh lemon juice. Give it all a good stir. I like to use a small whisk to ensure everything is perfectly combined and super smooth. You’ll see it start to transform into that beautiful, creamy aioli texture. Don't be shy with the stirring, you want it homogenous. This is where the magic of the Easy 3-Ingredient Roasted Garlic Aioli truly comes alive!
- Season and Serve:
- Taste your aioli! This is important. Add sea salt and freshly ground black pepper to your liking. Remember, you can always add more, but you can’t take it away! I usually start with a tiny pinch of salt and a few grinds of pepper, stir, taste, and adjust. If you’re using them, stir in those optional fresh chives. Transfer your glorious Easy 3-Ingredient Roasted Garlic Aioli to a serving dish. It should be rich, creamy, and bursting with that sweet roasted garlic flavor. Enjoy every single dollop!
Honestly, this Easy 3-Ingredient Roasted Garlic Aioli has saved so many weeknight dinners from being "just okay." I remember one time, I accidentally over-salted my fries, and a dollop of this aioli completely balanced it out. It’s my little kitchen hero, always there to add a touch of gourmet to the everyday. The simplicity still amazes me, even after making it countless times. It’s a testament to how incredible a few good ingredients can be.
Roasted Garlic Aioli Storage Tips
Okay, so you’ve made a batch of this glorious Easy 3-Ingredient Roasted Garlic Aioli, and you're wondering how to keep it fresh. From my own kitchen trials, storing it in an airtight container in the fridge is key. I usually use a small glass jar with a tight-fitting lid. It keeps beautifully for about 5-7 days. I once tried keeping it longer, thinking "it's just mayo and garlic," but by day 8, the flavor had dulled, and the texture wasn't quite right. So, stick to that week-long window. Don't freeze it, though! I made that mistake once, and the mayo separated completely upon thawing, leaving a really unappetizing, watery mess. Lesson learned: fresh is best, and a week is your limit for this Easy 3-Ingredient Roasted Garlic Aioli.

Ingredient Substitutions for Roasted Garlic Aioli
Life happens, and sometimes you don't have exactly what the recipe calls for. I've been there! For the mayonnaise, if you're out of your favorite brand, any good quality full-fat mayo will work. I've even made a vegan version using a good quality vegan mayo, and it worked surprisingly well, kinda! The texture was slightly different, but the roasted garlic still shone through. As for the lemon juice, if you're in a real pinch and have no fresh lemons, a tiny splash of apple cider vinegar can offer a similar bright acidity, but it won't have the same fresh citrus notes. I tried it once when desperate, and it was... acceptable, but definitely not as good. Fresh lemon is truly worth the trip to the store for this Easy 3-Ingredient Roasted Garlic Aioli.
Easy 3-Ingredient Roasted Garlic Aioli Serving Suggestions
Oh, where do I even begin with serving this divine Easy 3-Ingredient Roasted Garlic Aioli? It's incredibly versatile! My absolute favorite way to enjoy it is slathered on a juicy burger or as a dip for crispy homemade fries. It also elevates simple roasted vegetables, like asparagus or broccoli, into something truly special. Sometimes, I'll even spread it on a sandwich instead of plain mayo, especially a turkey club game changer! For a cozy night in, it's fantastic with warm, crusty bread, maybe alongside a glass of crisp white wine. And honestly, a dollop next to some pan-seared salmon? Chef's kiss! This aioli just makes everything taste a little more gourmet, even if you’re just having leftovers for lunch.
Cultural Backstory of Aioli (and my connection)
Aioli, at its heart, is a Mediterranean classic, a rich, garlicky emulsion that speaks of sunny coasts and simple, fresh ingredients. While my Easy 3-Ingredient Roasted Garlic Aioli is a simplified take, its roots are deep in places like Provence, France, and Catalonia, Spain, where it's traditionally made with just garlic, olive oil, and a mortar and pestle a real labor of love! My connection to aioli started on a trip to Barcelona years ago. I remember dipping patatas bravas into the most incredible garlic sauce, and I was hooked. I spent ages trying to recreate that magic at home, and while the traditional method is beautiful, my busy life needed a shortcut. That's how this roasted garlic version became my personal homage, a way to bring those vibrant Mediterranean flavors into my everyday kitchen, without all the fuss.
So there you have it, my friends, the Easy 3-Ingredient Roasted Garlic Aioli. It's more than just a recipe, it's a little bit of kitchen joy, a reminder that incredible flavor doesn't always require a complicated ingredient list or hours of work. I hope you give it a try and find as much comfort and delight in it as I do. Let me know what you serve it with I'm always looking for new ideas! Happy dipping!

Frequently Asked Questions about Roasted Garlic Aioli
- → Can I make this Easy 3-Ingredient Roasted Garlic Aioli ahead of time?
Absolutely! I almost always make a batch on Sunday to use throughout the week. It actually tastes even better after a day or two in the fridge, as the flavors have a chance to meld. Just pull it out about 15 minutes before serving to let it come closer to room temp, for the best texture.
- → What if I don't have fresh lemons for the Roasted Garlic Aioli?
While fresh lemon juice is my top pick for that bright, essential zing, if you're really in a bind, a tiny splash of white wine vinegar or apple cider vinegar can work. It won't be quite the same, but it'll provide the necessary acidity. I tried it once, and it did the job, kinda!
- → My aioli seems too thick, what should I do?
This happens sometimes, especially if your mayo is extra thick. Don't panic! Just whisk in a teaspoon of warm water or a little extra lemon juice at a time until it reaches your desired consistency. I've had to do this a few times, and it always saves the day without diluting the flavor too much.
- → How long does homemade Easy 3-Ingredient Roasted Garlic Aioli last?
In an airtight container in the refrigerator, your homemade Easy 3-Ingredient Roasted Garlic Aioli should last for about 5 to 7 days. Beyond that, the flavors start to fade, and I wouldn't risk it. I always label mine with the date to keep track, because I've forgotten before and had to toss a batch!
- → Can I use pre-minced garlic for this recipe?
For this specific recipe, no, not really. The magic of roasted garlic is in the caramelization and mellow sweetness that develops in the oven. Pre-minced garlic won't give you that same deep, rich flavor, and the texture will be off. Trust me, roasting the whole head is worth the extra step for this Easy 3-Ingredient Roasted Garlic Aioli!