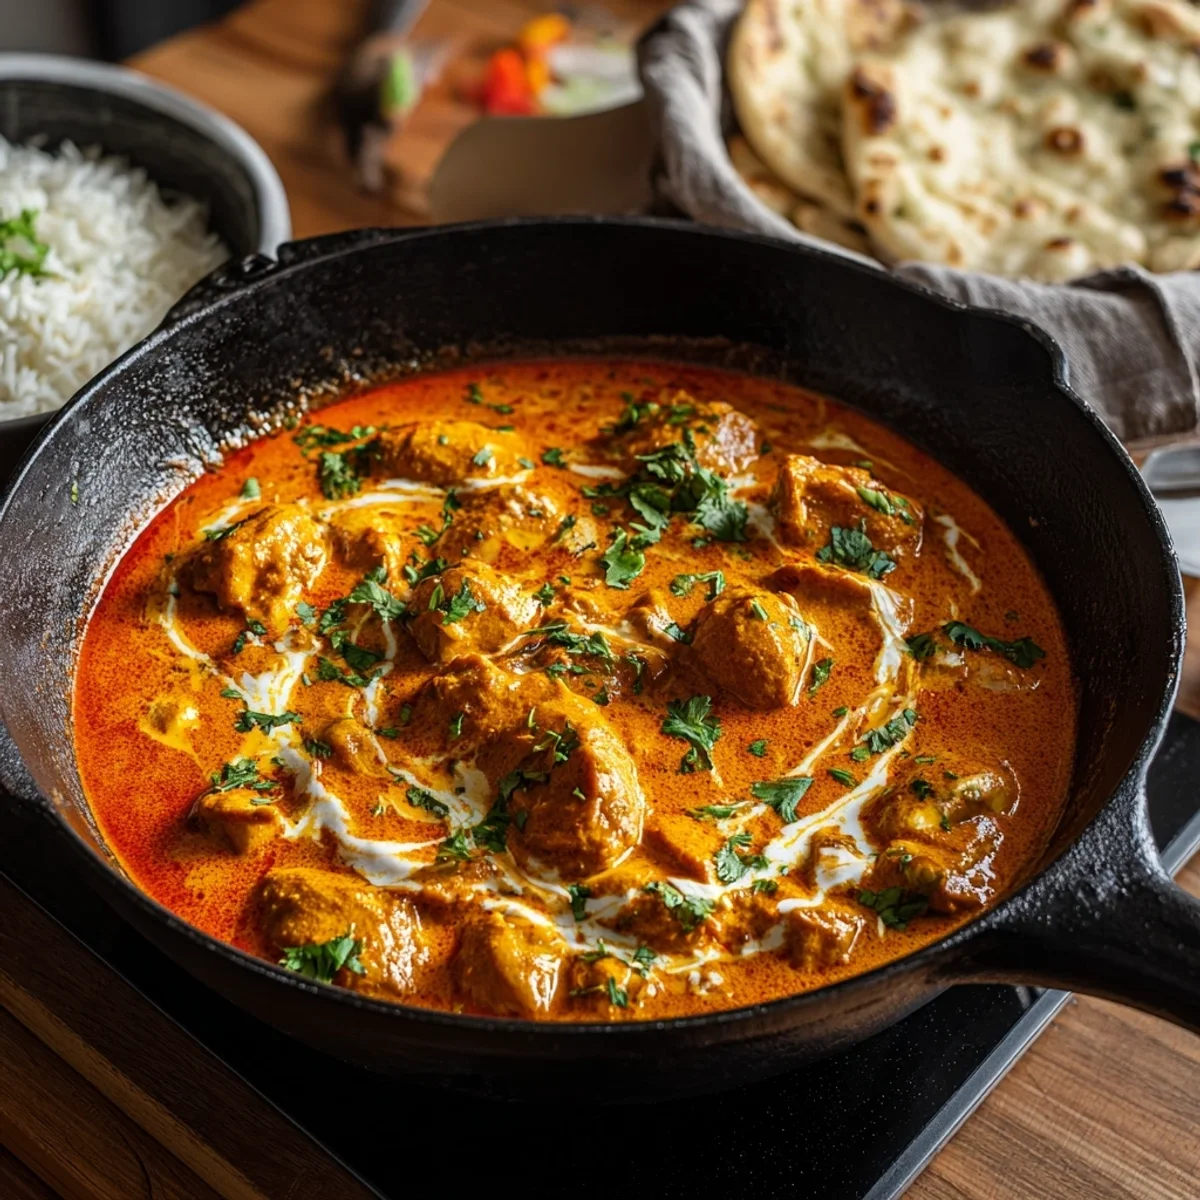


Honestly, I discovered this butter chicken skillet recipe during one of those chaotic Tuesday nights when I was craving Indian takeout but my bank account was giving me the side-eye. The smell of garam masala hitting hot oil? Pure magic. Now it's my go-to when I need something that tastes like I spent hours cooking but actually takes thirty minutes.
I'll never forget the first time I made this I accidentally doubled the cayenne and spent the entire meal crying happy tears while simultaneously chugging milk. My husband still brings it up whenever I'm being overly confident about spice levels.
Ingredients
- Boneless chicken thighs: Trust me, don't use breasts here thighs stay juicy and won't turn into cardboard if you overcook them slightly (which I definitely have)
- Heavy cream: The real stuff, not the light version. I tried half-and-half once and the sauce was so sad and thin
- Crushed tomatoes: I always keep San Marzano cans stocked because they're sweet and not acidic worth the extra dollar
- Garam masala: This is where the magic happens! I buy mine from the Indian grocery store because it's fresher and way more fragrant
- Fresh ginger: Please don't use the powdered stuff. Fresh ginger has this zingy bite that makes everything come alive
- Butter: European-style butter if you're feeling fancy, but honestly any unsalted butter works just don't skimp on the amount
Instructions
- Season and sear the chicken:
- I season my chicken thighs generously with salt and pepper, then heat oil in my trusty cast iron skillet over medium-high heat. Once it's shimmering, I sear those thighs skin-side down first don't move them! Let them get golden and crispy, about 4-5 minutes. The sizzling sound should be aggressive but not scary. Flip them over and cook another 3-4 minutes. They won't be fully cooked yet, and that's okay! Remove them to a plate and try not to eat the crispy skin bits.
- Build the aromatic base:
- In the same skillet with all those gorgeous chicken drippings, I melt butter and add minced garlic and ginger. The smell is intoxicating like, stop-everything-you're-doing good. Cook for about 30 seconds until fragrant but not brown. Then I add my garam masala, cumin, and paprika. This step always makes me feel like a real chef! The spices bloom and smell like heaven. Don't skip this it's where all the flavor comes from.
- Create the tomato base:
- Pour in the crushed tomatoes and let everything simmer together for about 5 minutes. I like to scrape up any brown bits from the bottom that's pure flavor gold! The sauce should start to thicken slightly and smell rich and complex. Sometimes I add a pinch of brown sugar if the tomatoes taste too acidic. Trust your taste buds here every can of tomatoes is different, and that's totally normal.
- Add cream and simmer:
- This is my favorite part slowly stirring in the heavy cream and watching the sauce turn this gorgeous orange-pink color. Lower the heat to medium-low and let it simmer gently for about 3-4 minutes. The sauce should coat the back of a spoon but still be pourable. If it gets too thick, I add a splash of chicken broth. If it's too thin, I let it bubble away for a few more minutes.
- Return chicken and finish cooking:
- Nestle those beautiful chicken thighs back into the sauce, skin-side up if you want to keep it crispy (which I always do). Cover and simmer for 10-12 minutes until the chicken is cooked through. I always check with a meat thermometer 165°F is what we're aiming for. The sauce should be bubbling gently around the edges, and your kitchen should smell like an Indian restaurant.
- Final touches and serve:
- Remove from heat and let it rest for 2-3 minutes the sauce will thicken slightly as it cools. Taste and adjust seasoning sometimes I add more salt, sometimes a squeeze of lemon juice for brightness. Garnish with chopped cilantro and serve over basmati rice or with naan bread. The first bite should be creamy, slightly spicy, and absolutely soul-warming. This is comfort food at its finest.
The first time I served this to my in-laws, my mother-in-law asked for the recipe three times during dinner. She couldn't believe something this flavorful came from my chaotic little kitchen! Now it's become our Sunday dinner tradition, and honestly, it feels like giving everyone a warm hug.
Storage Tips
This butter chicken skillet actually tastes even better the next day all those spices have time to meld together beautifully. Store leftovers in the fridge for up to 4 days in airtight containers. When reheating, add a splash of cream or broth because the sauce tends to thicken overnight. I usually reheat gently on the stovetop rather than the microwave because microwaving can make the sauce separate learned that lesson when I was rushing to eat leftovers at work and ended up with sad, oily chicken. You can also freeze this for up to 3 months, though the texture of the cream might change slightly.

Ingredient Substitutions
I've experimented with this recipe more times than I care to admit! Coconut milk works beautifully instead of heavy cream it adds a subtle sweetness that's really lovely. For the chicken, I've used breasts in a pinch, but you'll need to be more careful not to overcook them. Greek yogurt can replace some of the cream if you're trying to lighten it up, just stir it in off the heat. No garam masala? I've made my own with cumin, coriander, cardamom, and cinnamon. It's not exactly the same, but it works! And if you can't find good crushed tomatoes, fire-roasted diced tomatoes work too just simmer them longer to break down.
Serving Suggestions
This butter chicken skillet pairs beautifully with fluffy basmati rice the grains soak up that creamy sauce perfectly. Naan bread is obviously amazing for scooping, but I've also served it with crusty sourdough when I'm being lazy. A simple cucumber salad with yogurt and mint cuts through the richness nicely. For drinks, I love it with a crisp Riesling or even a cold beer something to cool down the spice. Sometimes I serve it with roasted vegetables like cauliflower or green beans for extra nutrition. And for dessert? Mango kulfi or even vanilla ice cream with a drizzle of honey feels like the right ending to this cozy meal.
Cultural Backstory
Butter chicken, or murgh makhani, was actually invented in the 1950s at a Delhi restaurant when the chef had leftover tandoori chicken and created this creamy tomato sauce to give it new life. It's become one of the most beloved Indian dishes worldwide, and I love that it started as a way to avoid food waste! My version in a skillet makes it more accessible for weeknight cooking no tandooor needed. I learned about the dish's history from my neighbor who grew up in Mumbai, and she taught me that the key is balancing the tomatoes' acidity with cream and spices. It's comfort food that crosses cultures, and that's why it feels so special to make at home.
Every time I make this butter chicken skillet, it reminds me why I fell in love with cooking in the first place. There's something so satisfying about creating restaurant-quality flavors in my own messy kitchen. I hope this recipe brings as much warmth and comfort to your table as it does to mine!

Frequently Asked Questions
- → Can I make this butter chicken skillet ahead of time?
Absolutely! I actually prefer making it a day ahead because the flavors develop beautifully overnight. Just reheat gently on the stovetop with a splash of cream if needed.
- → What if I don't have garam masala?
I've made my own blend with equal parts cumin, coriander, and a pinch each of cardamom, cinnamon, and cloves. It's not identical but definitely works in a pinch!
- → Why did my sauce curdle when I added cream?
This happened to me once when the heat was too high! Always add cream on medium-low heat and stir gently. If it does curdle, a quick blend with an immersion blender usually saves it.
- → How long will this keep in the freezer?
I've successfully frozen this for up to 3 months. The cream texture changes slightly, but the flavor is still amazing. Thaw overnight in the fridge before reheating.
- → Can I use chicken breasts instead of thighs?
Sure, but watch the cooking time carefully! Breasts dry out faster. I pound them to even thickness and check with a thermometer 165°F is your target temperature.